
Discovering HCI Project Harvester
Introduction to Harvester
Harvester is an OSS (Open Source Software) project created by Rancher Labs (now part of SUSE) that provides a Kubernetes-based HCI (Hyper-Converged Infrastructure) solution. Its main goal is to combine many existing OSS projects to offer an easy-to-use platform for software defined infrastructure. This includes :
- Compute Virtualization using KubeVirt
- Software Defined Block Storage using Longhorn
- Software Defined Networking using Multus
- Snapshotting and Templates using MinIO
The objective of Harvester is to use the same platform for both containerized workloads as well as more traditional VM-based workloads, and still make the latter able to use Kubernetes features like load balancing, service discovery, etc.
Harvester features
The main features of Harvester include but are not limited to:
- Store OS images and VM templates
- Automatic backups of VMs
- Bridge Networking and Cluster Networking for VMs
- Management of SSH Public keys
- Clustering of virtualization hosts
- Linux and Windows guests
- Console Access from the browser
- VNC console for guests
- etc.
How to try Harvester
Downloading Harvester
In order to try out Harvest, you will first need to download the ISO file of the latest release from Harvester’s Github page.
As of writing this blog, the latest version is v0.1.0.
You will need to download the file harvester-amd64.iso.
Installing Harvester
Depending on where you would like to install Harvester, you might have different approaches. For instance, if you would like to deploy Harvester on Equinix Metal, you will need the iPXE installation. In this article, I will only describe the installation using the ISO on a Bare Metal server, or any machine. I do it on my Intel NUC. That means, I use a tool such as Rufus to create a USB drive from the ISO. Now, I can plug my USB drive to my NUC and get going with the installation.
After powering up the server with the USB drive inserted, the GRUB menu for installing Harvester should appear:
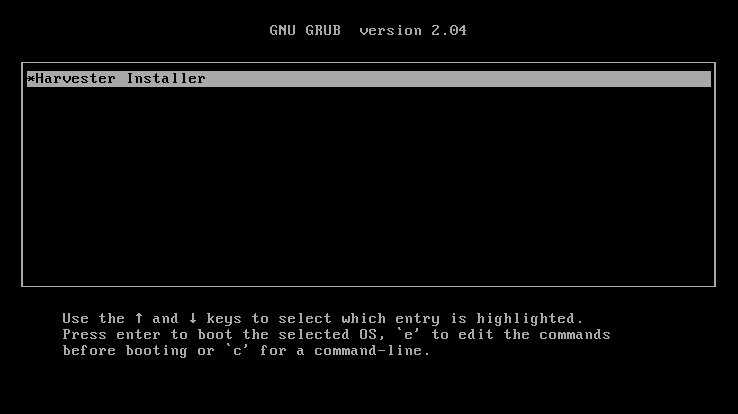
Type Enter to continue. After that, a menu should appear to choose between creating a new Harvester Cluster or joining an existing one.
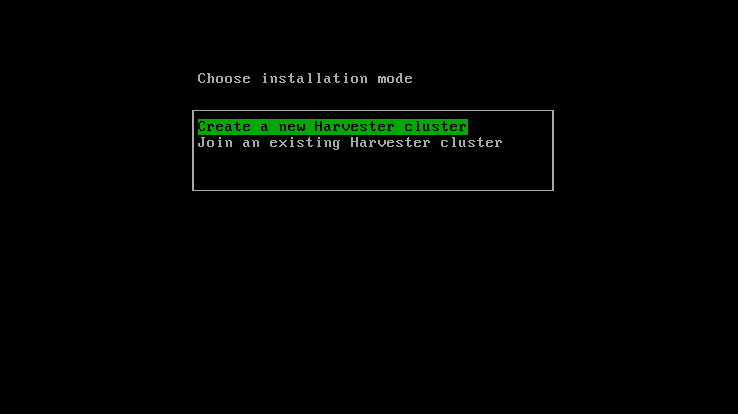
Indeed, Harvester is an HCI solution can deploy across a cluster of machines. In order to do so, the first machine on which you install Harvester will create the cluster, and the following ones will join the cluster. In this case, we will create a single-machine Harvester cluster, so we will choose Create a new Harvester cluster, then type Enter.
The next screen is about choosing the Hard Drive that will be used for the installation.
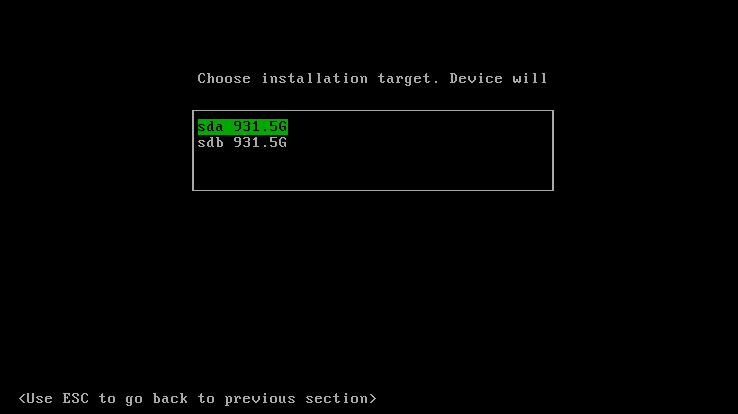
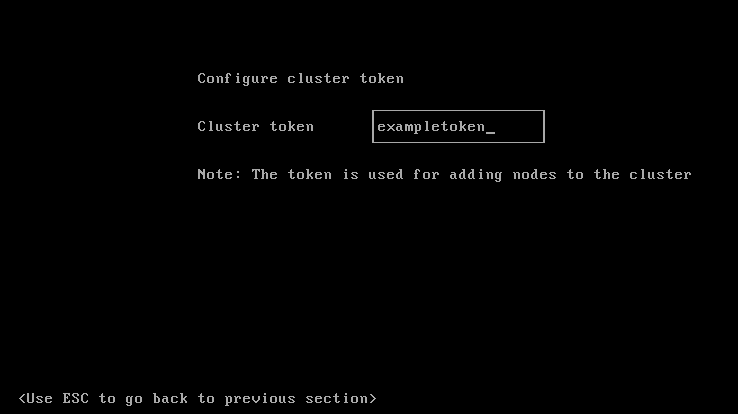
In this case, we choose sda. Then, you need to type a token. A token is a character string made up of letters, digits and symbols that can be used to add new nodes to the Harvester cluster. The token is first defined on the master node, nodes that need to join the cluster will need to have the master’s url and the token. You can choose whatever token you would like on the master, but I recommend you choose a complex and unique one, to avoid having machines joining your Harvester master by mistake.
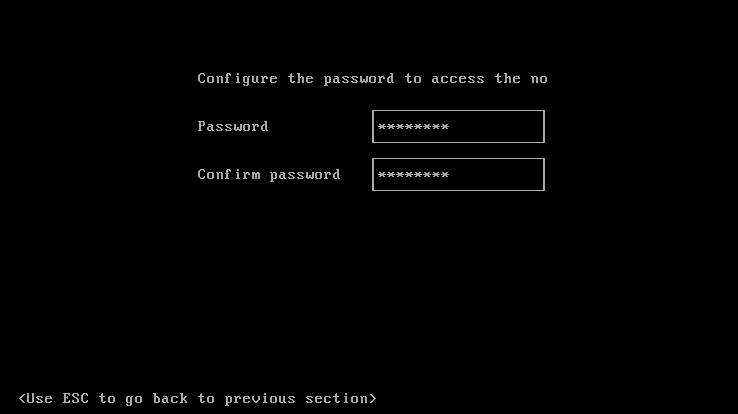
After inserting the token, you need to define a password for your root user on the Harvester node’s OS. Indeed, Harvester is based on K3OS which is a lightweight Linux distribution including K3s, the lightweight Kubernetes distribution.
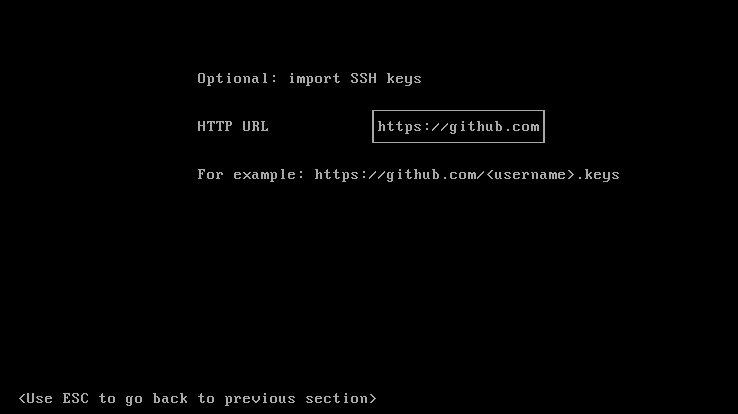
This password can be used when connecting directly to the node without private key. However, the next step, will define an SSH public key to be used for remote SSH access. The public key can automatically be provided using a URL, like the ones available for Github profiles. Let’s say you have a Github user named someone, for whom you added a public key here. Github will make these public keys available using the url https://github.com/someone.keys.
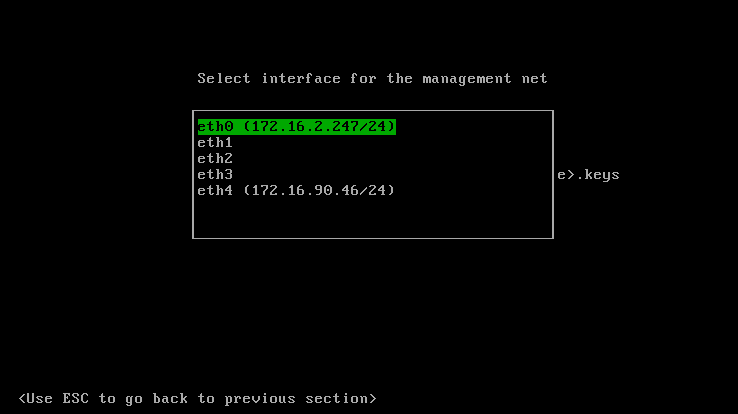
Now, you will tell Harvester which network interface will be used as a Management Network, since many machine might have multiple network interfaces. The management network is the network that will be used to advertise Harvester’s endpoint, or the URL to which you will connect to Harvester.
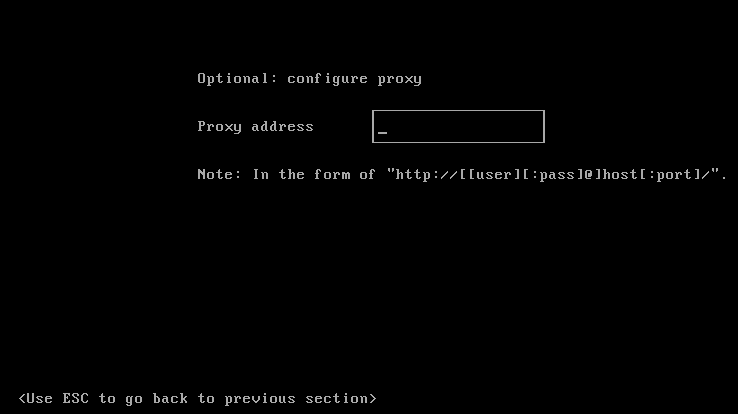
The next screen will suggest you to insert proxy information, please go ahead and give any necessary proxy information to access the internet from this machine. Internet access can be used to download VM or ISO images inside of Harvester, as well as upgrades, etc. In my case, there is no proxy to configure, that’s why I will leave it blank.
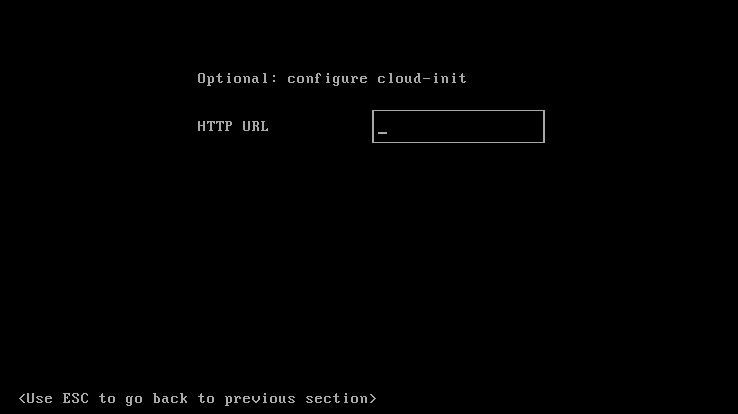
The next step will give you the possibility to customize your installation using Cloud-Init. You just need to give a URL to a cloud-init config yaml file when asked.
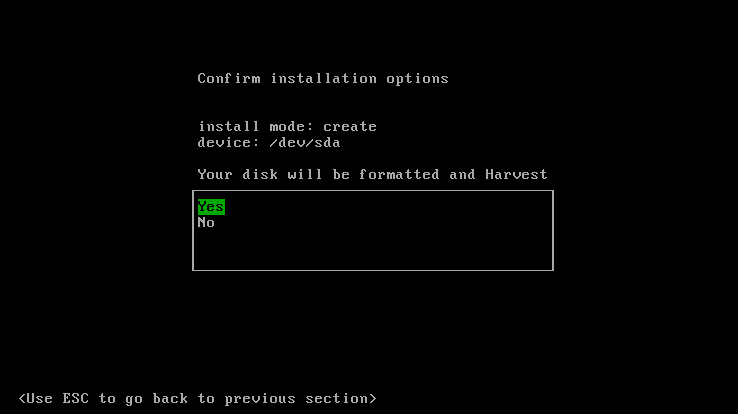
Formatting the disk comes next with the following screen.
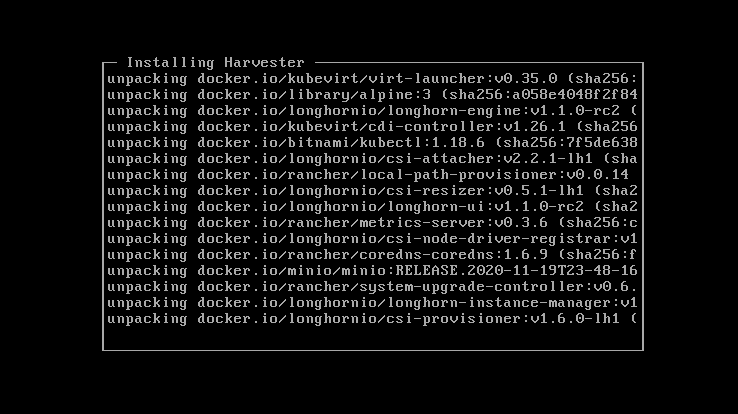
Now finally, Harvester installation will begin.
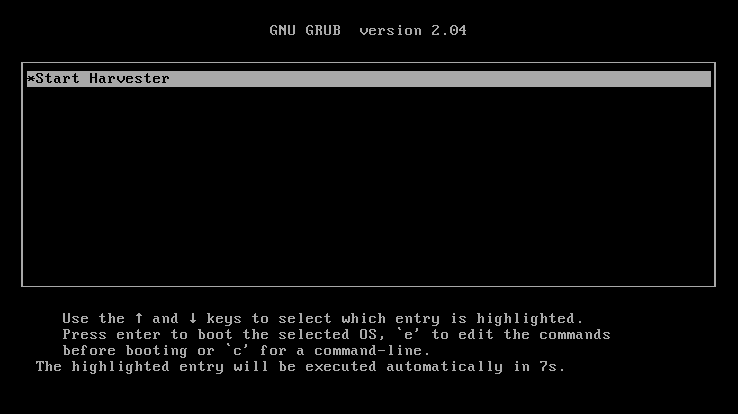
Now, after the installation is finished, the server will reboot and start harvester, first by showing GRUB:
then, after everything is started, you will see the following screen:
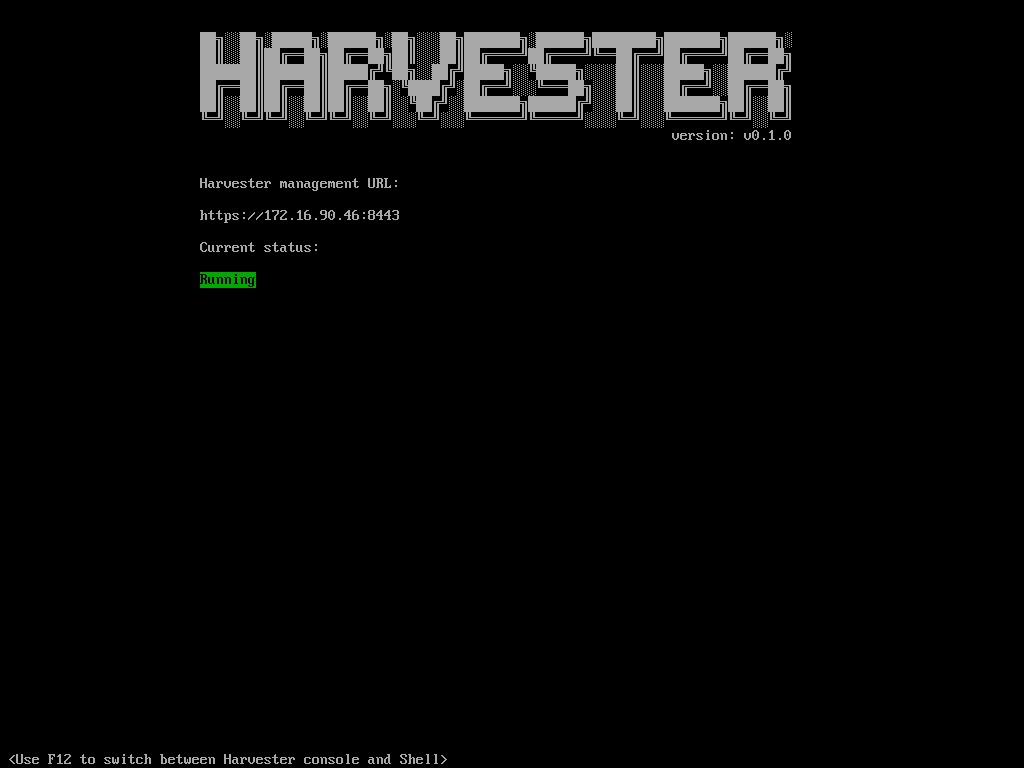
At this point, you can note down the address at which you can access Harvester, and leave the machine as headless and switch to another one to access Harvester’s UI. If something is wrong with remote access or the UI, you can always come back to this machine, connect a keyboard and type F12 and then put the password for the root user that you setup during installation. You will then have a command prompt.

Using Harvester’s UI
Once Harvester is up and running, you should have noted down the URL to connect to it. In the release v0.1.0, the address should use the port 8443. In my case the address is https://192.168.0.104:8443. Let’s connect to that address:
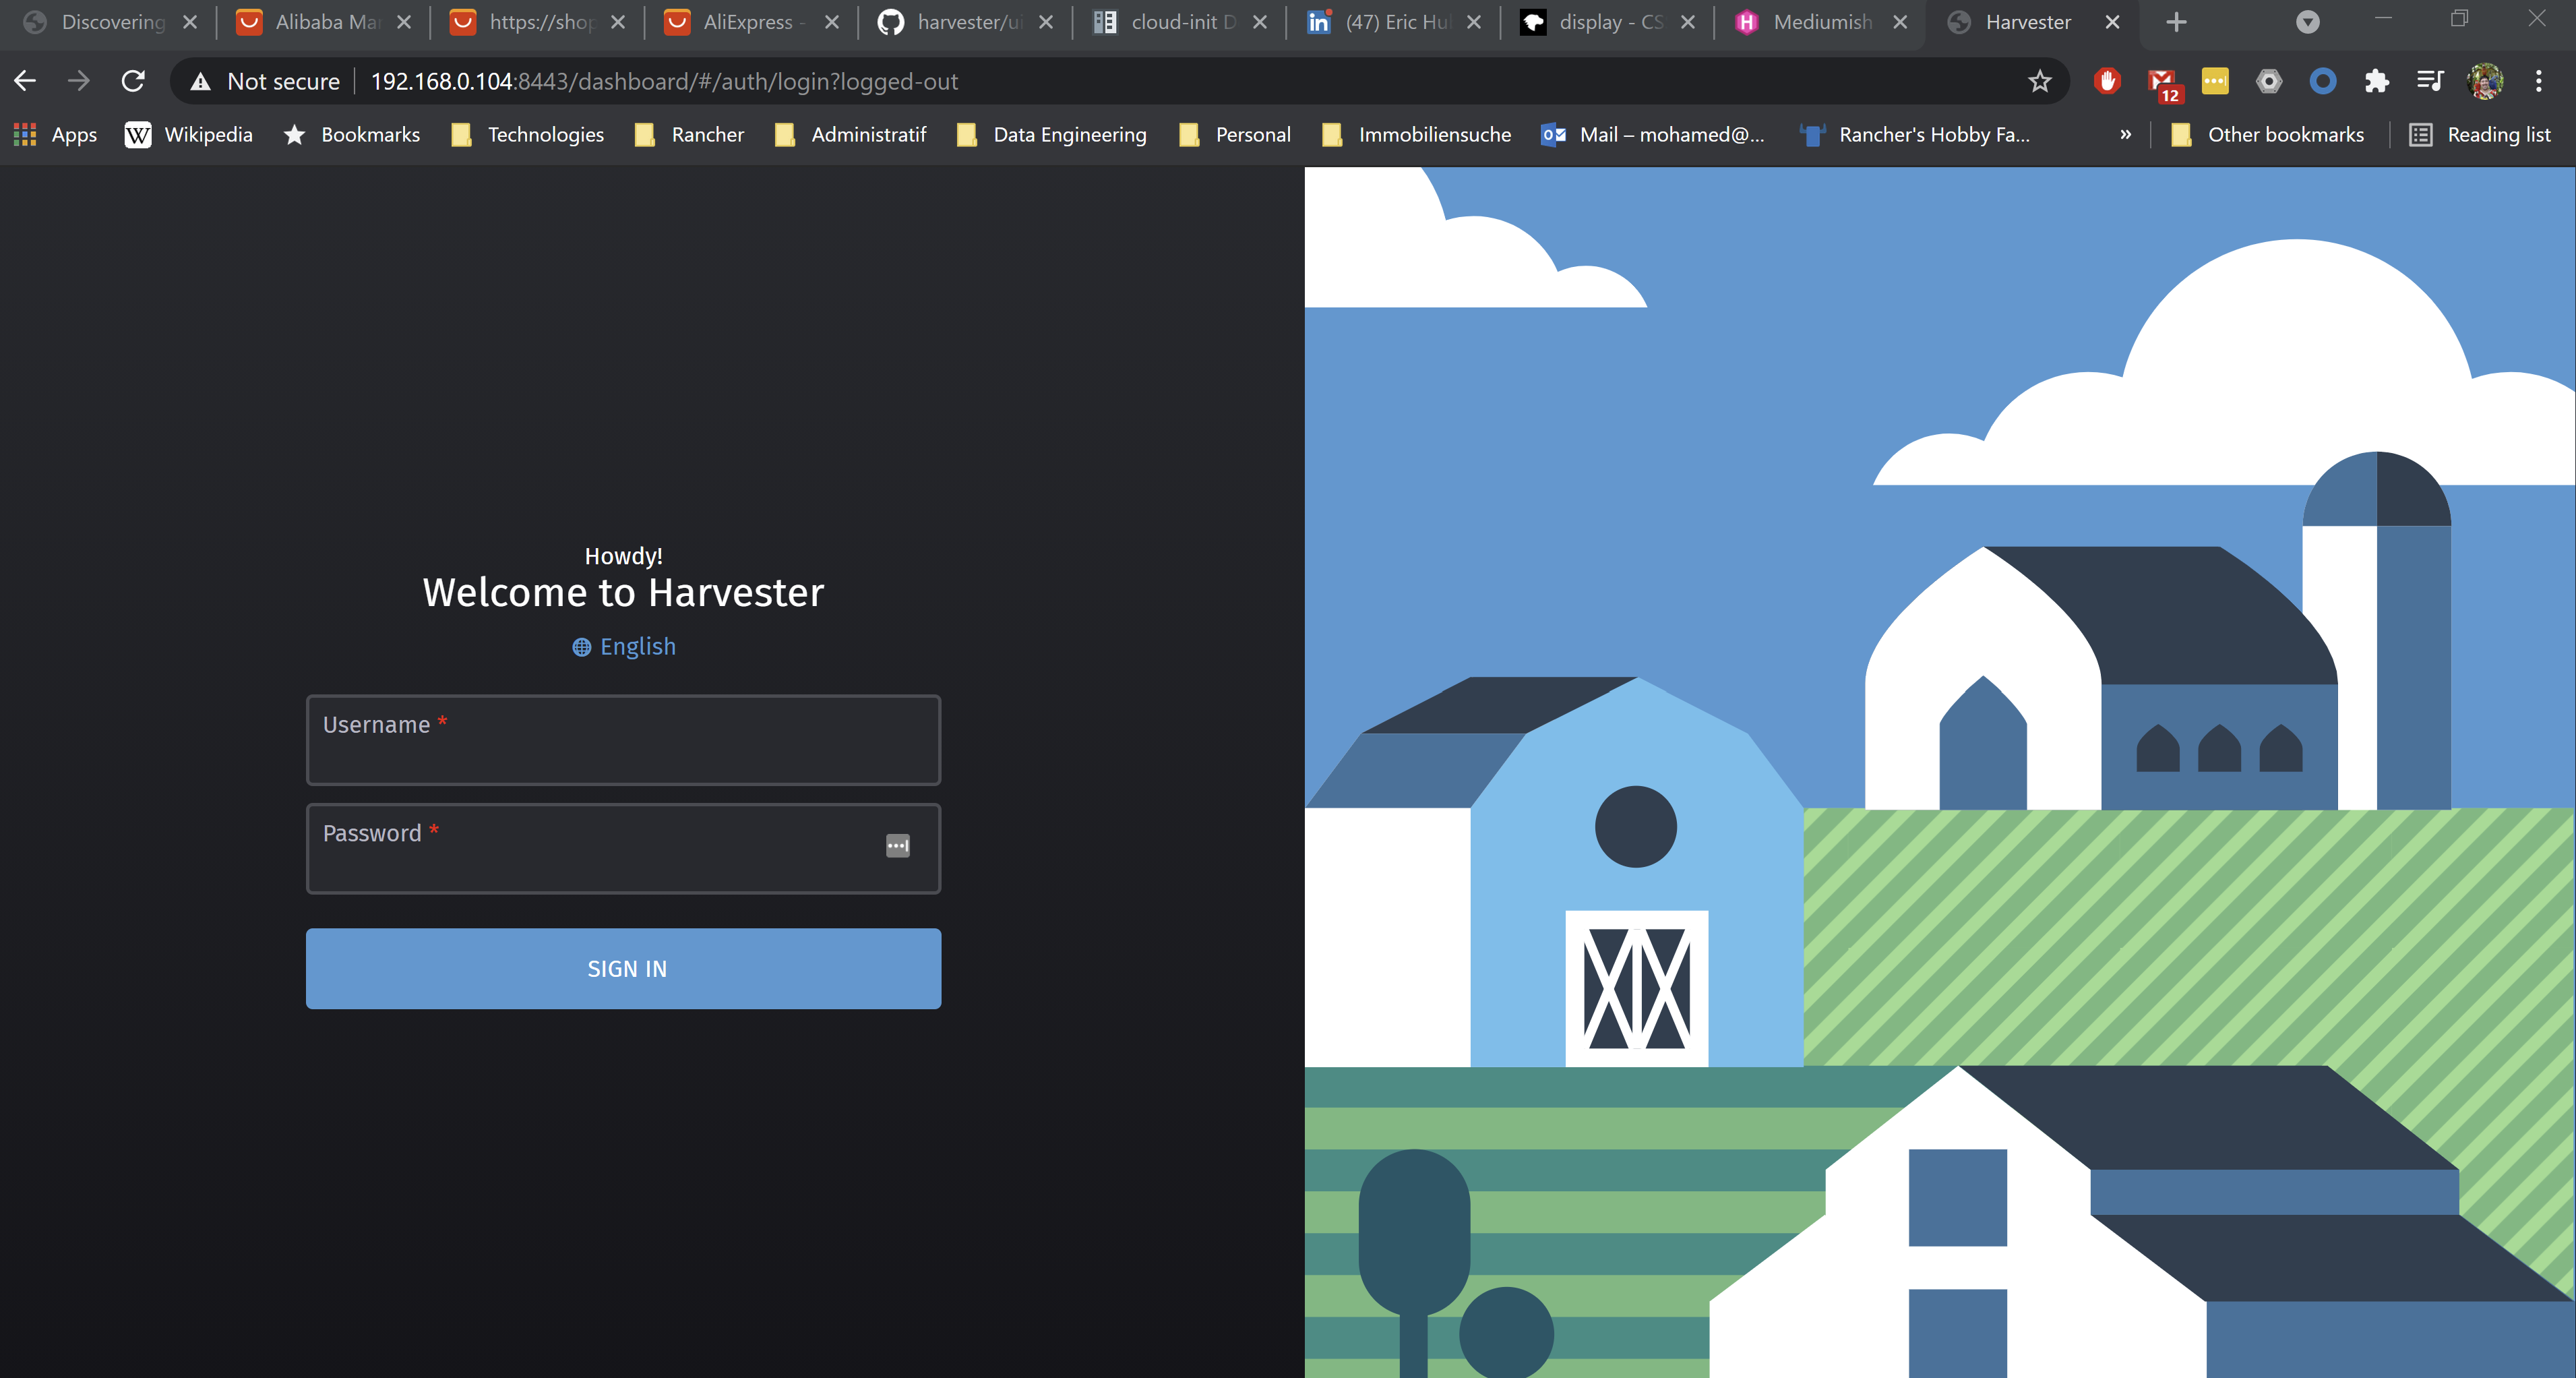
The administrator user is admin and the default password is password, but this can be changed after the first login. Let’s put the username and password and click on the SIGN IN button. Now the Harvester Dashboard is shown as follows:

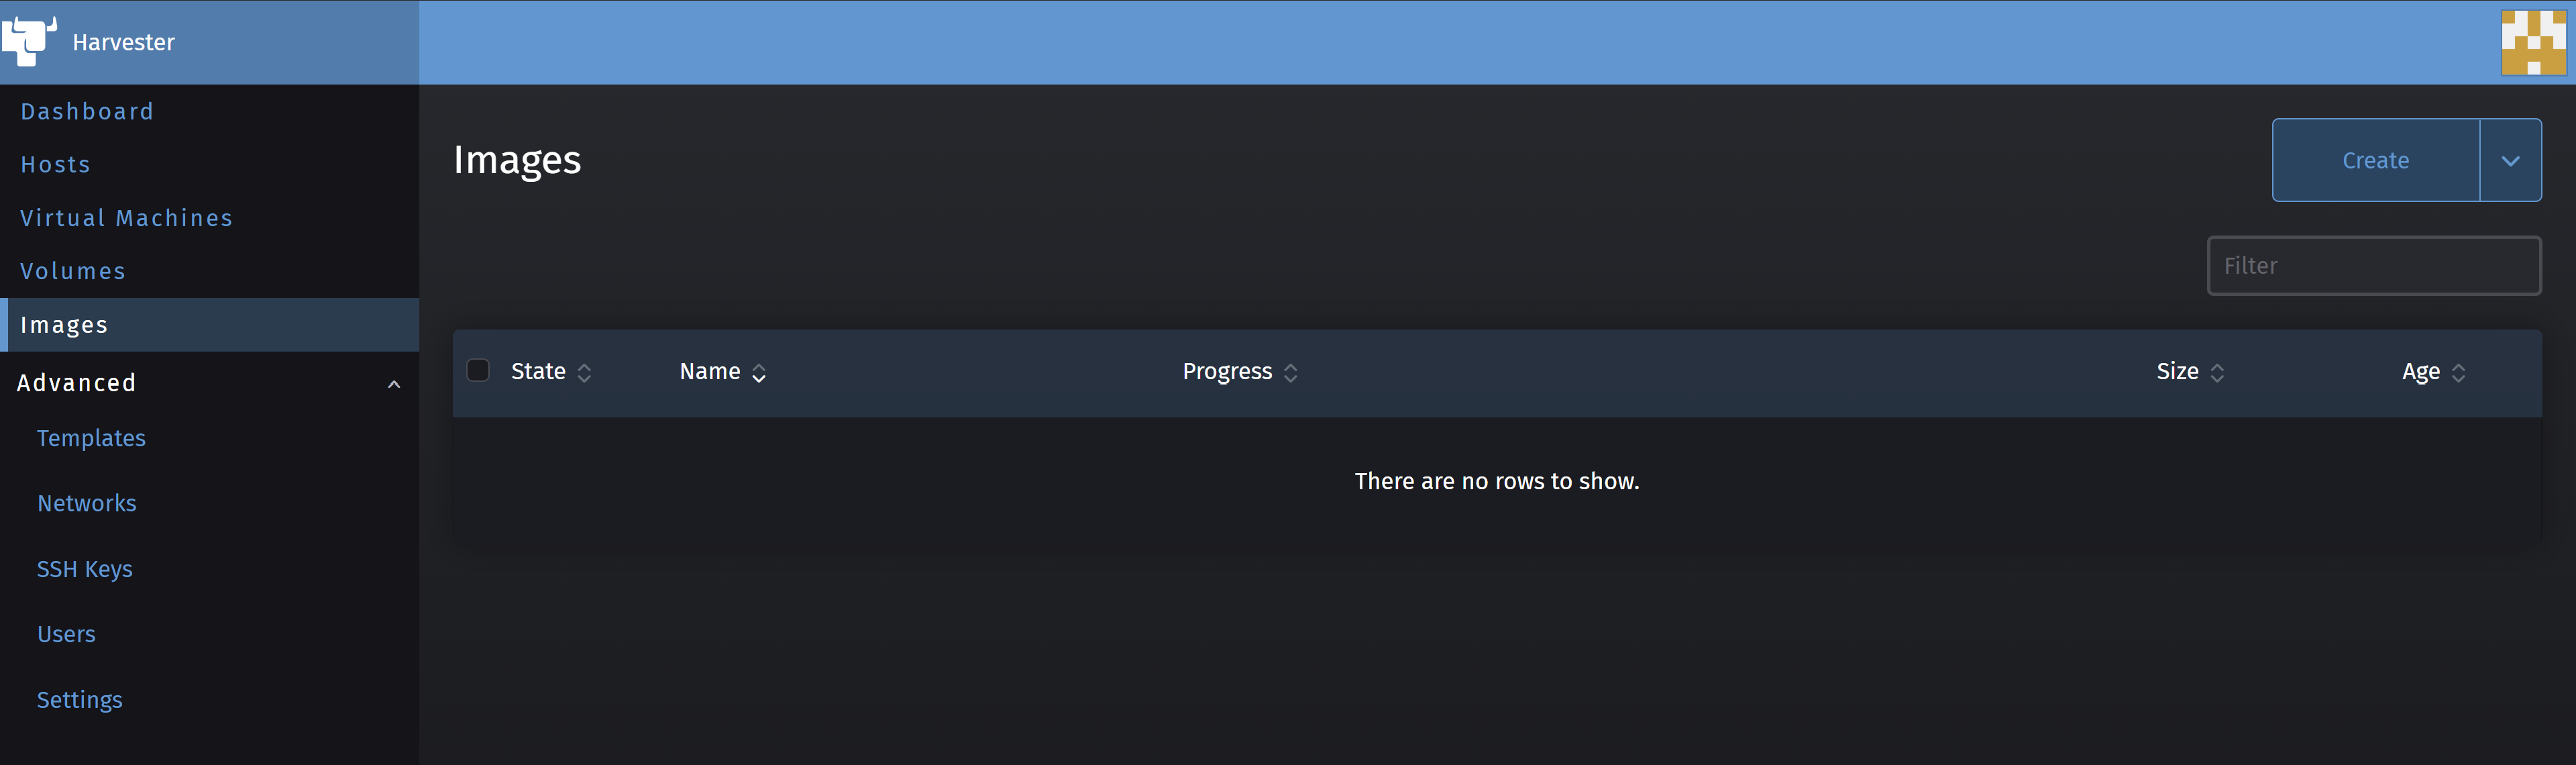
The Harvester Dashboard might look similar to the Cluster Explorer in Rancher v2.5. On the left menu, you can see Hosts, Virtual Machines, Volumes, Images and Advanced.
- Hosts: This will show you the Hosts on your Harvester Cluster. Right now, you should see only one host, which is the master of your single-node cluster.
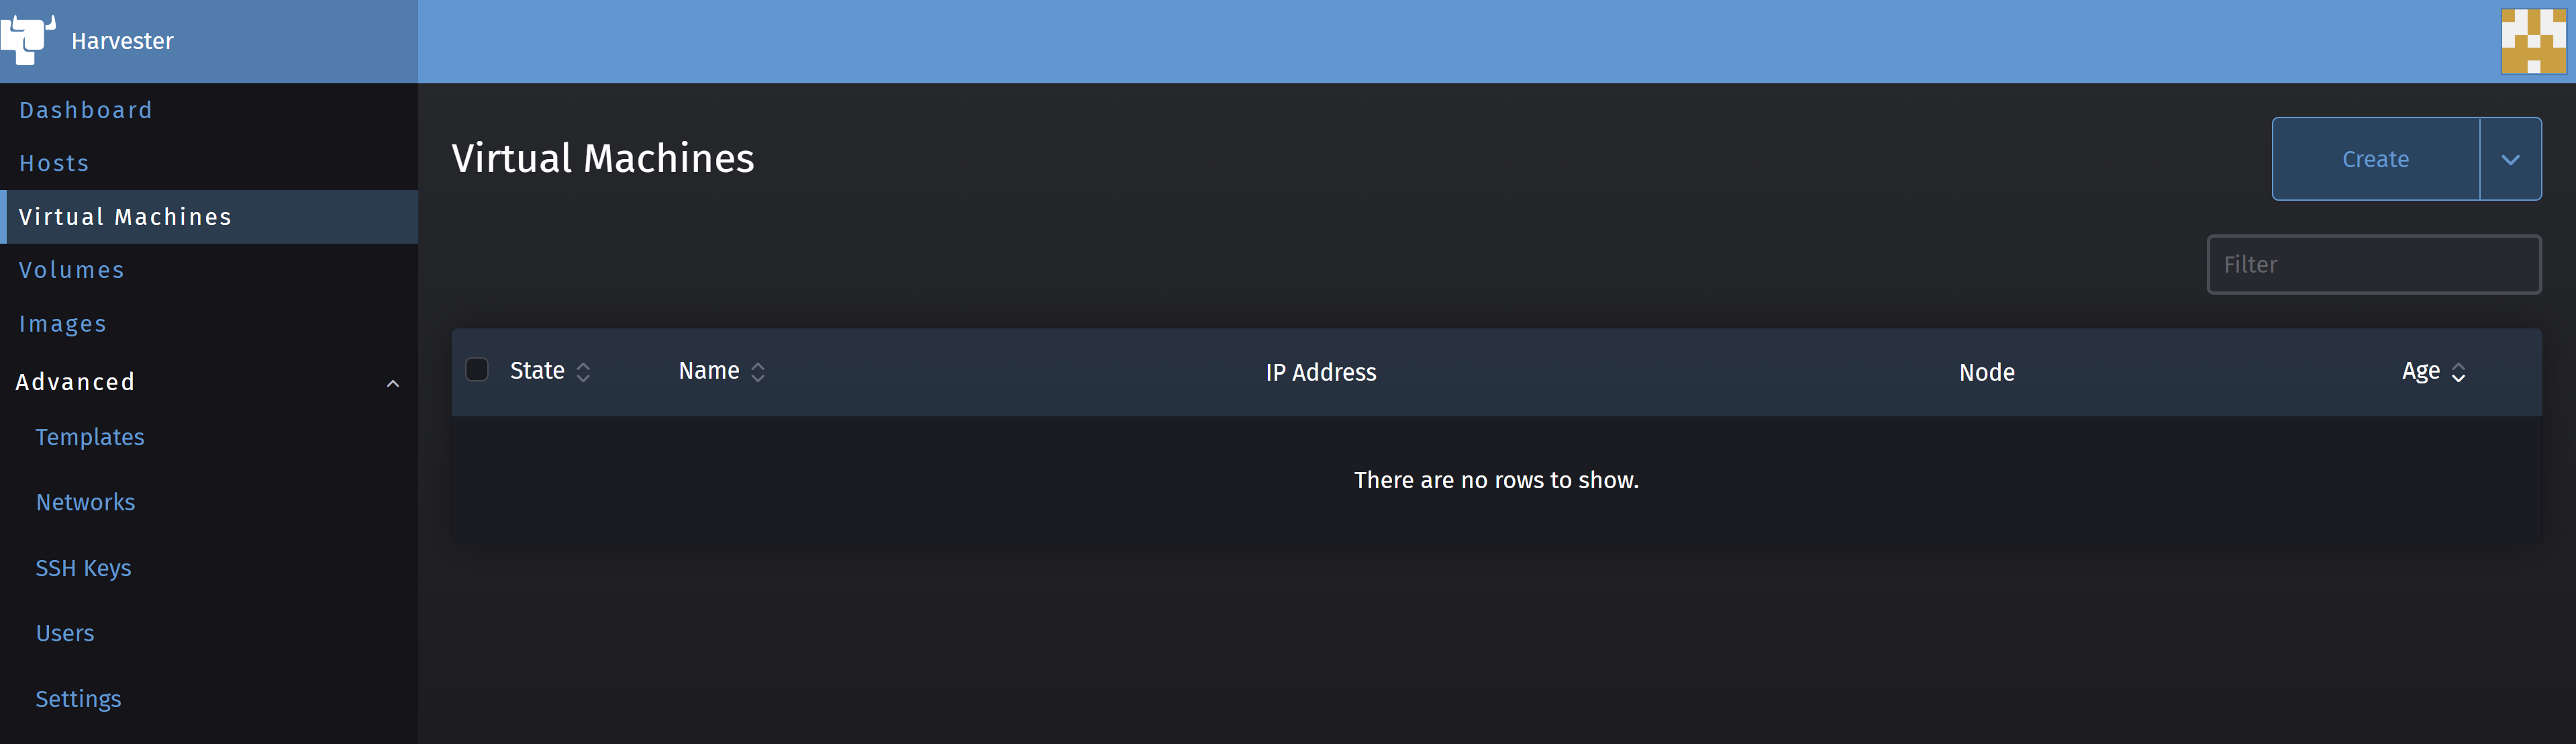
- Virtual Machines: This is the place where you will create new VMs on Harvester. Right now, it is empty.
- Volumes: These are the storage volumes that will be used by the VMs
- Images: These will be the ISO and Cloud image files for the OSes to be used by your VMs.
- Advanced: This menu will show some sub menu items to configure things like VM Templates, Bridge Networks, SSH Keys to use with your VMS, Users, and Settings.
Pre-requisites for creating first VM
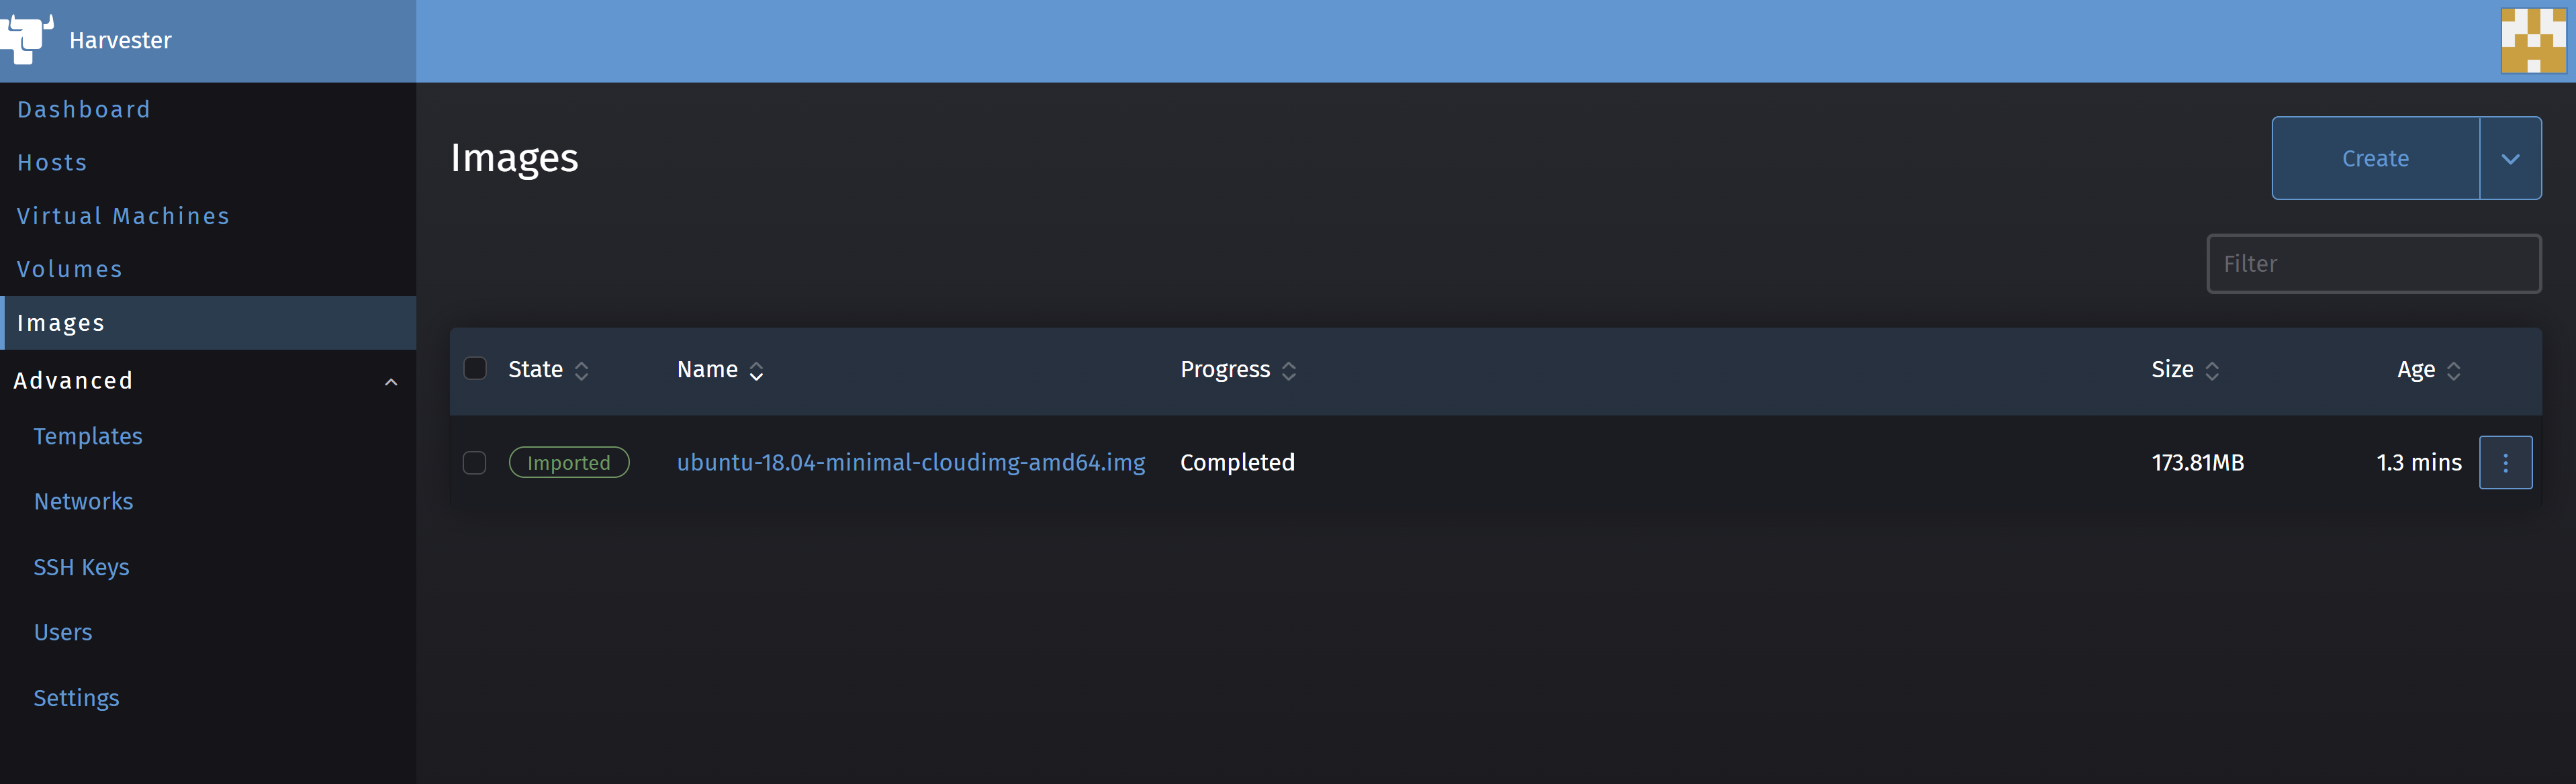
In order to create your first VM, you need to first create an OS image under the Images menu. In the Images view, click on the Create button.
Then, put a cloud image or ISO of your choice for the OS. In my case, I am using Ubuntu Bionic Minimal Cloud Image available here.
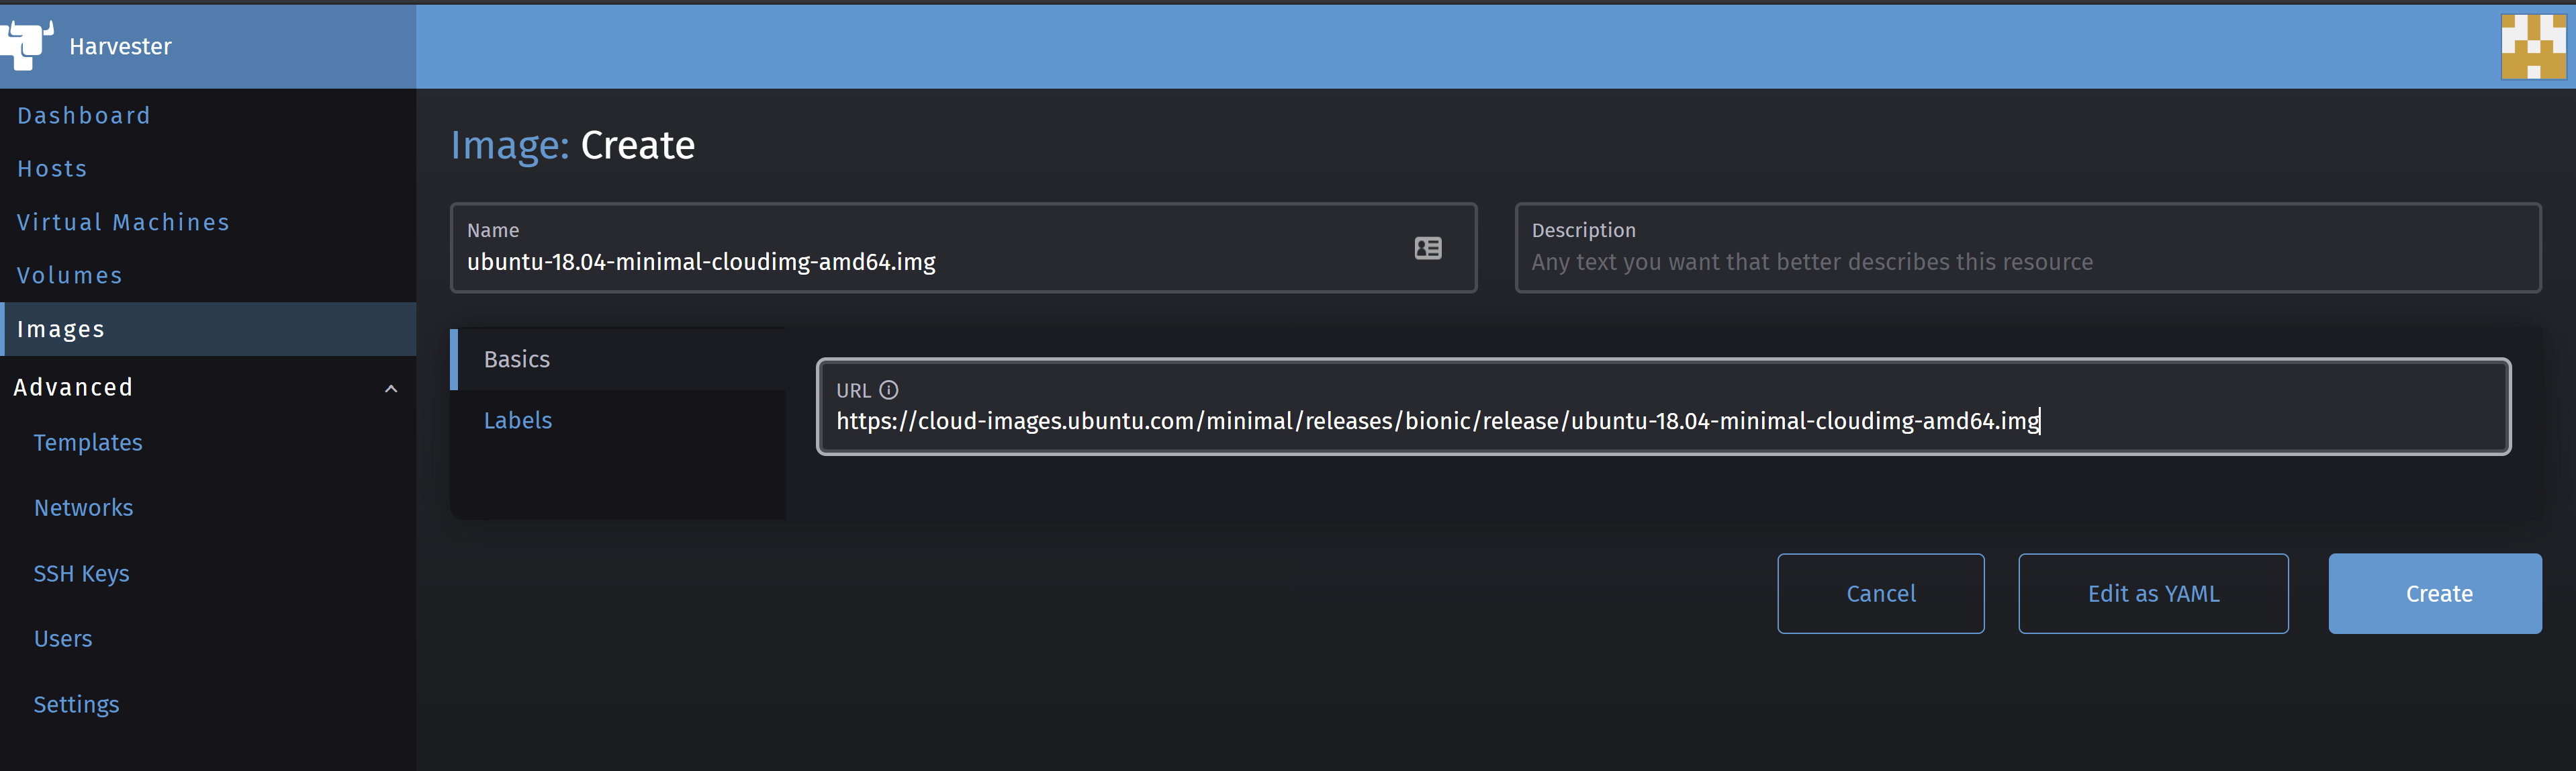
then click on Create. This will download the image and store it in Harvester’s Image Store for further use. After a few seconds, you should see the following screen with an image state Imported in green.
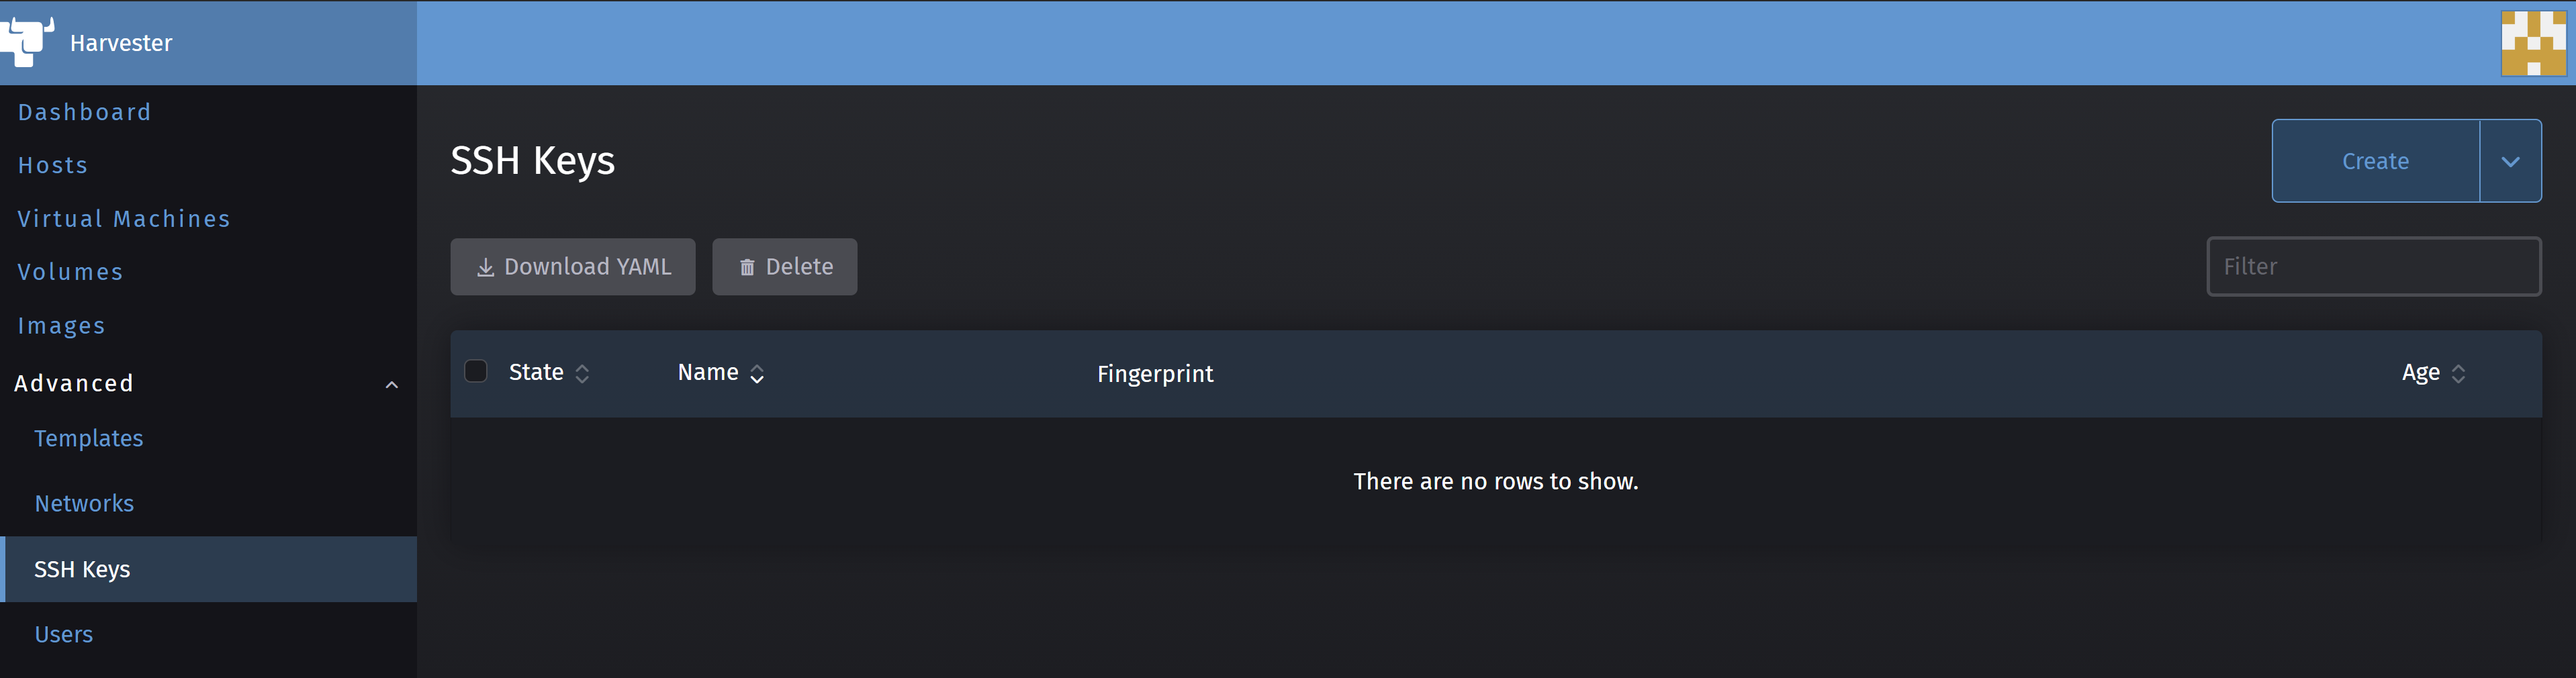
Now, let’s import the SSH public key for SSH access to the VMs by clicking on the SSH Keys sub-menu in the Advanced main menu.
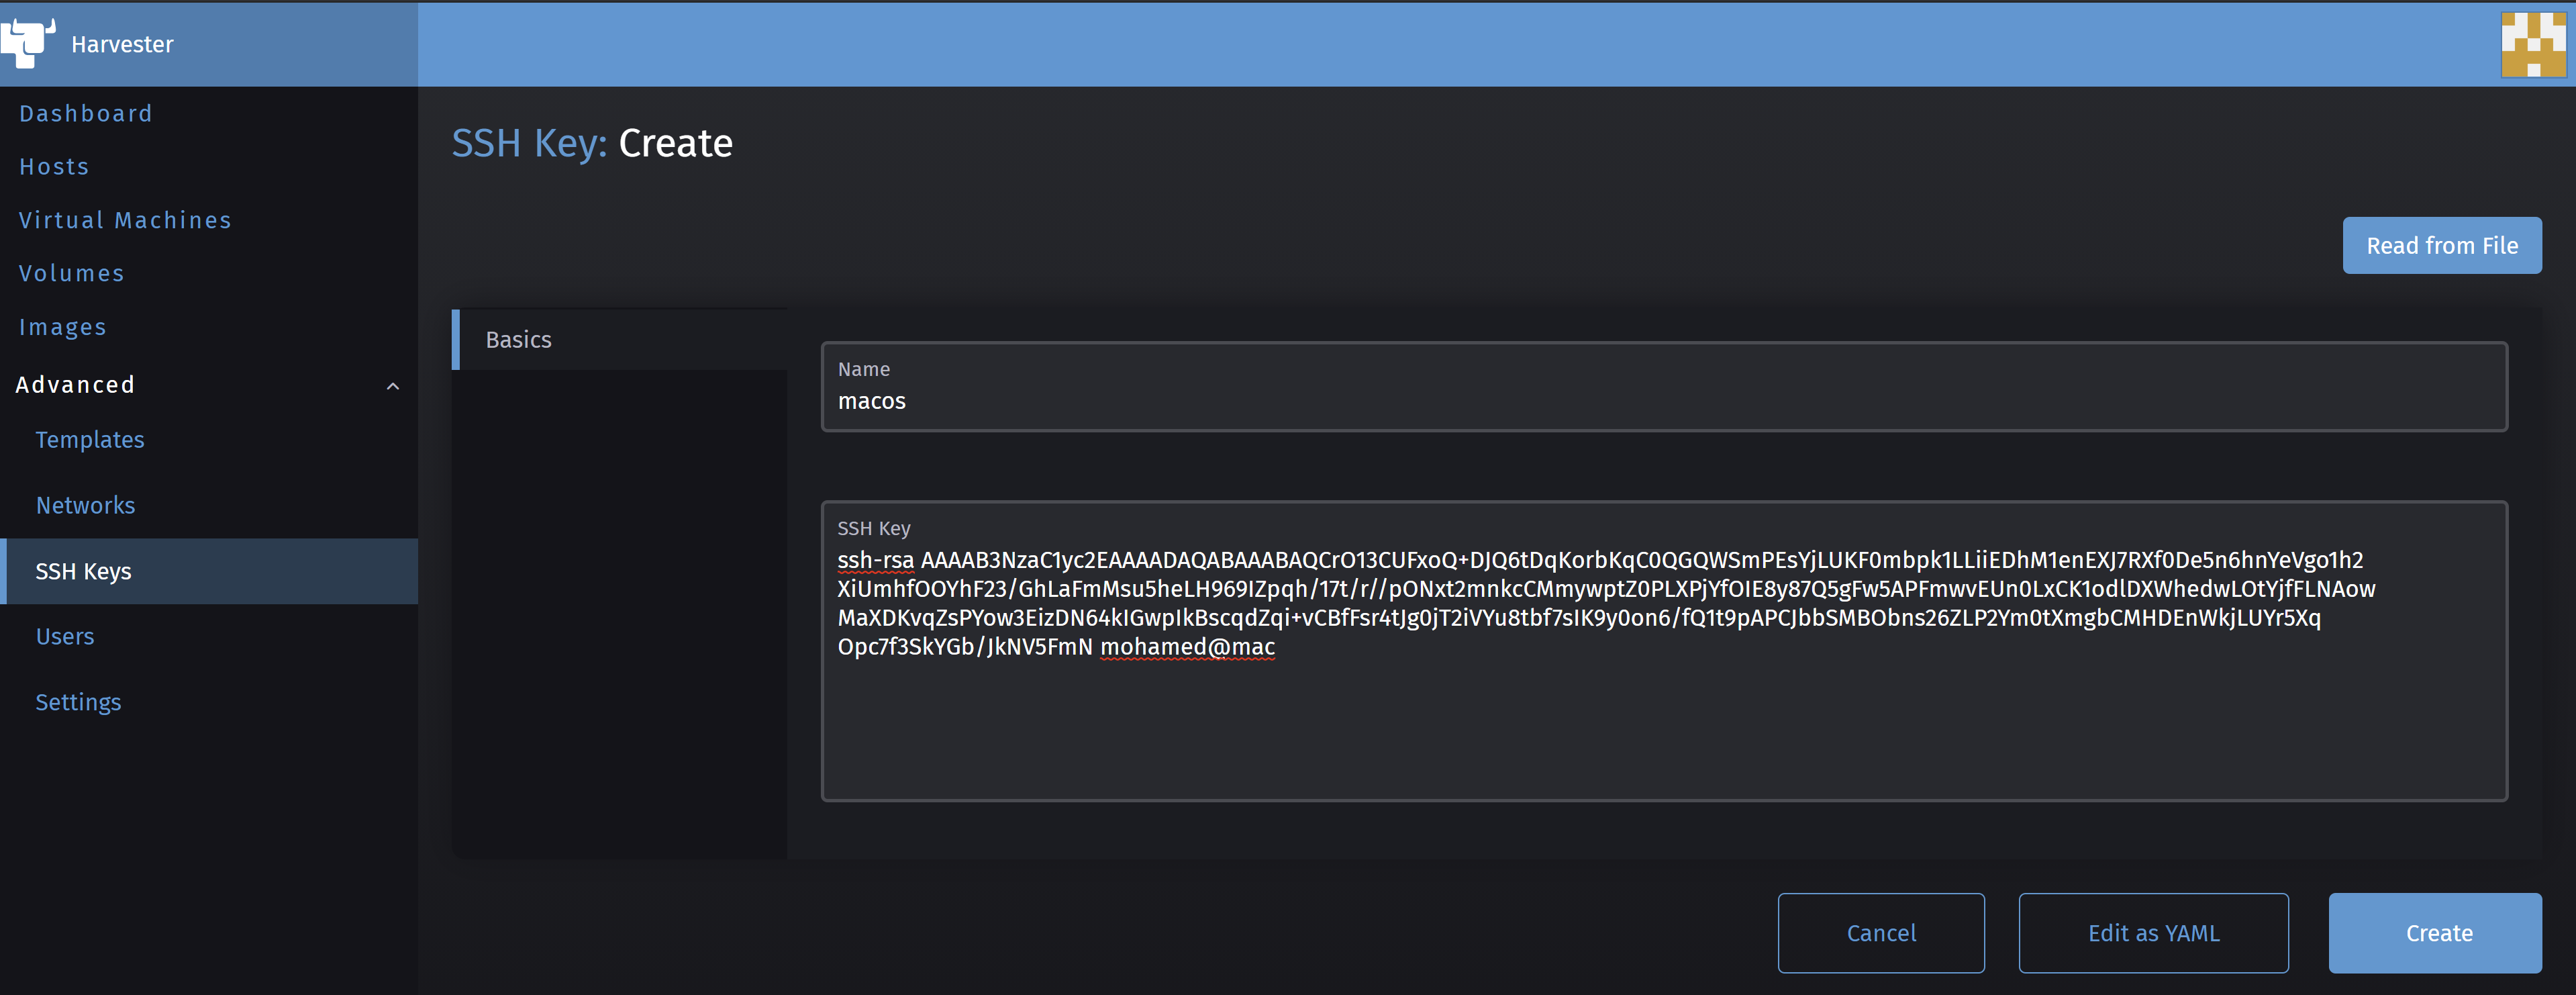
Click on Create then paste your public key in SSH Key field and give it a name in the Name field, then click on Create.
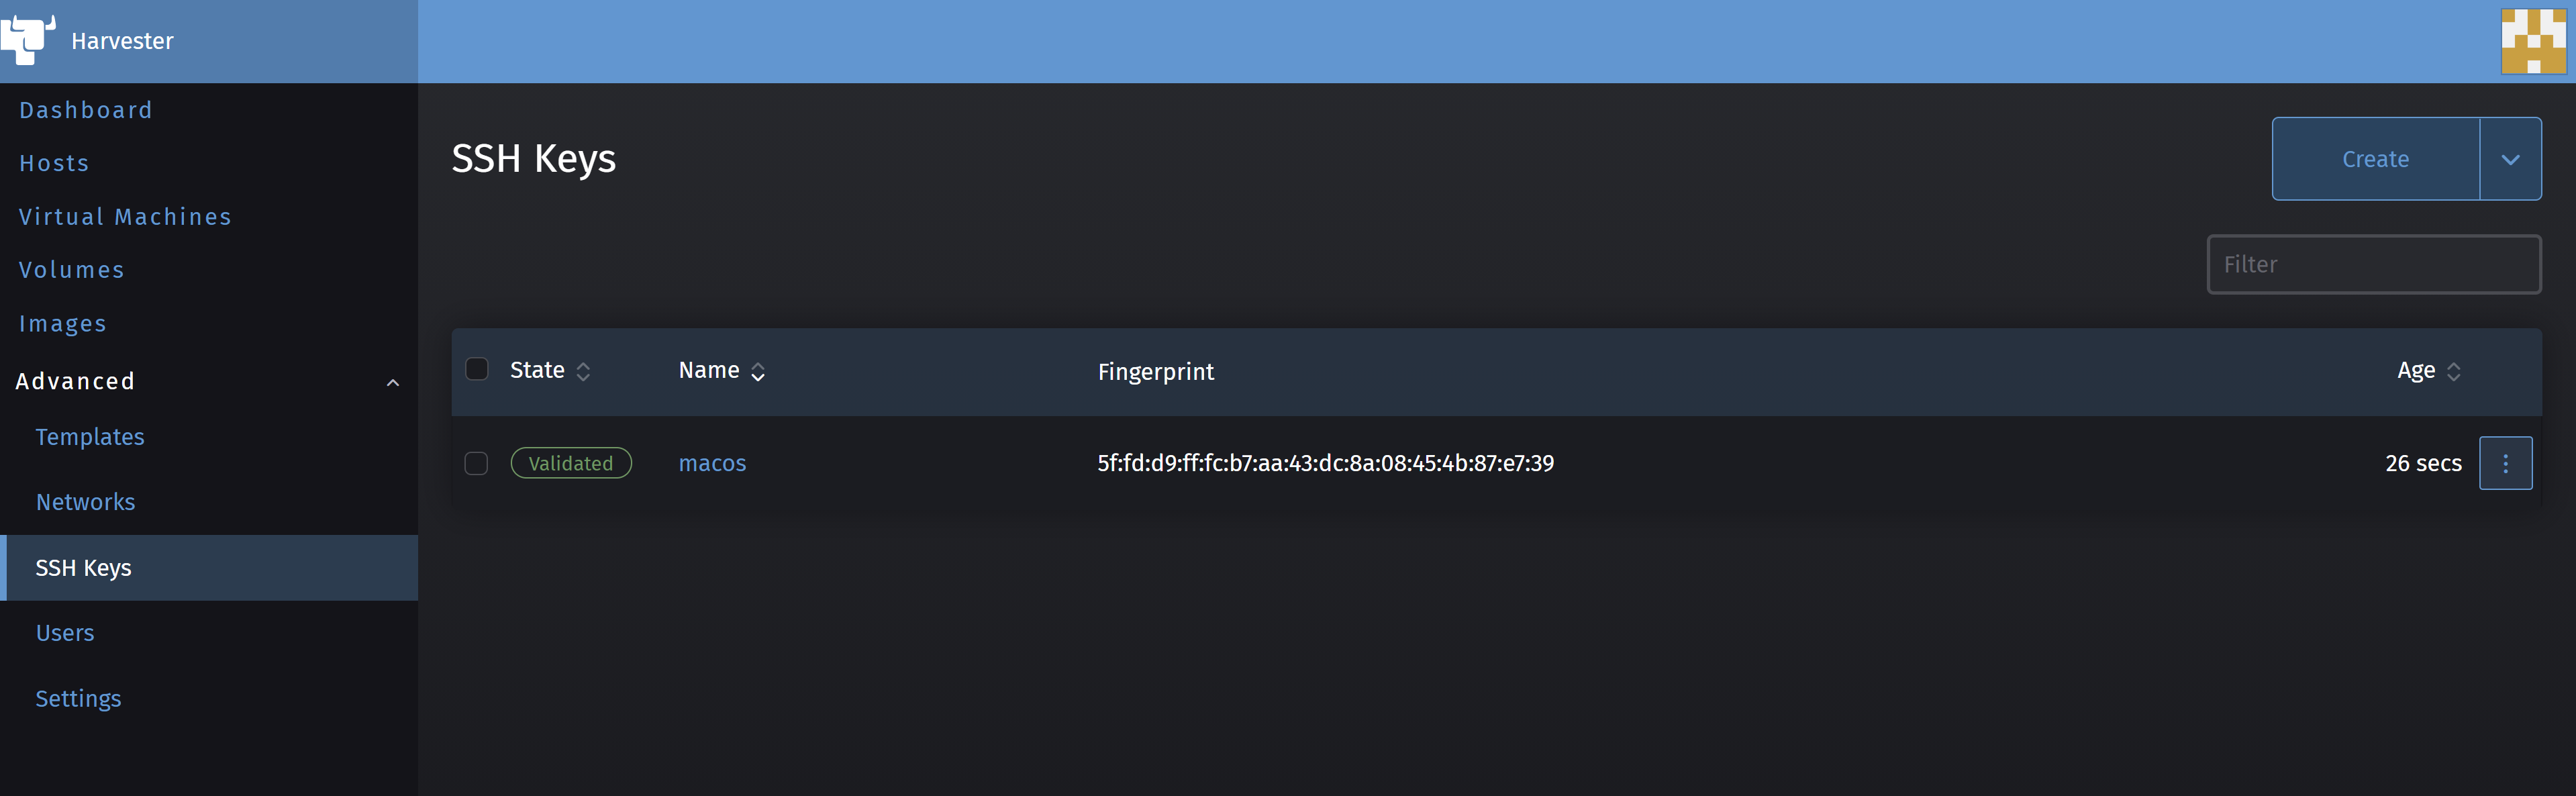
After the create is successfully created, you should see a screen showing it with the State Validated on left hand side as the following.
Now, we are ready for creating a VM.
Creating the first VM
Now, in order to actually create the VM we will click on the Virtual Machines menu to see the following view.
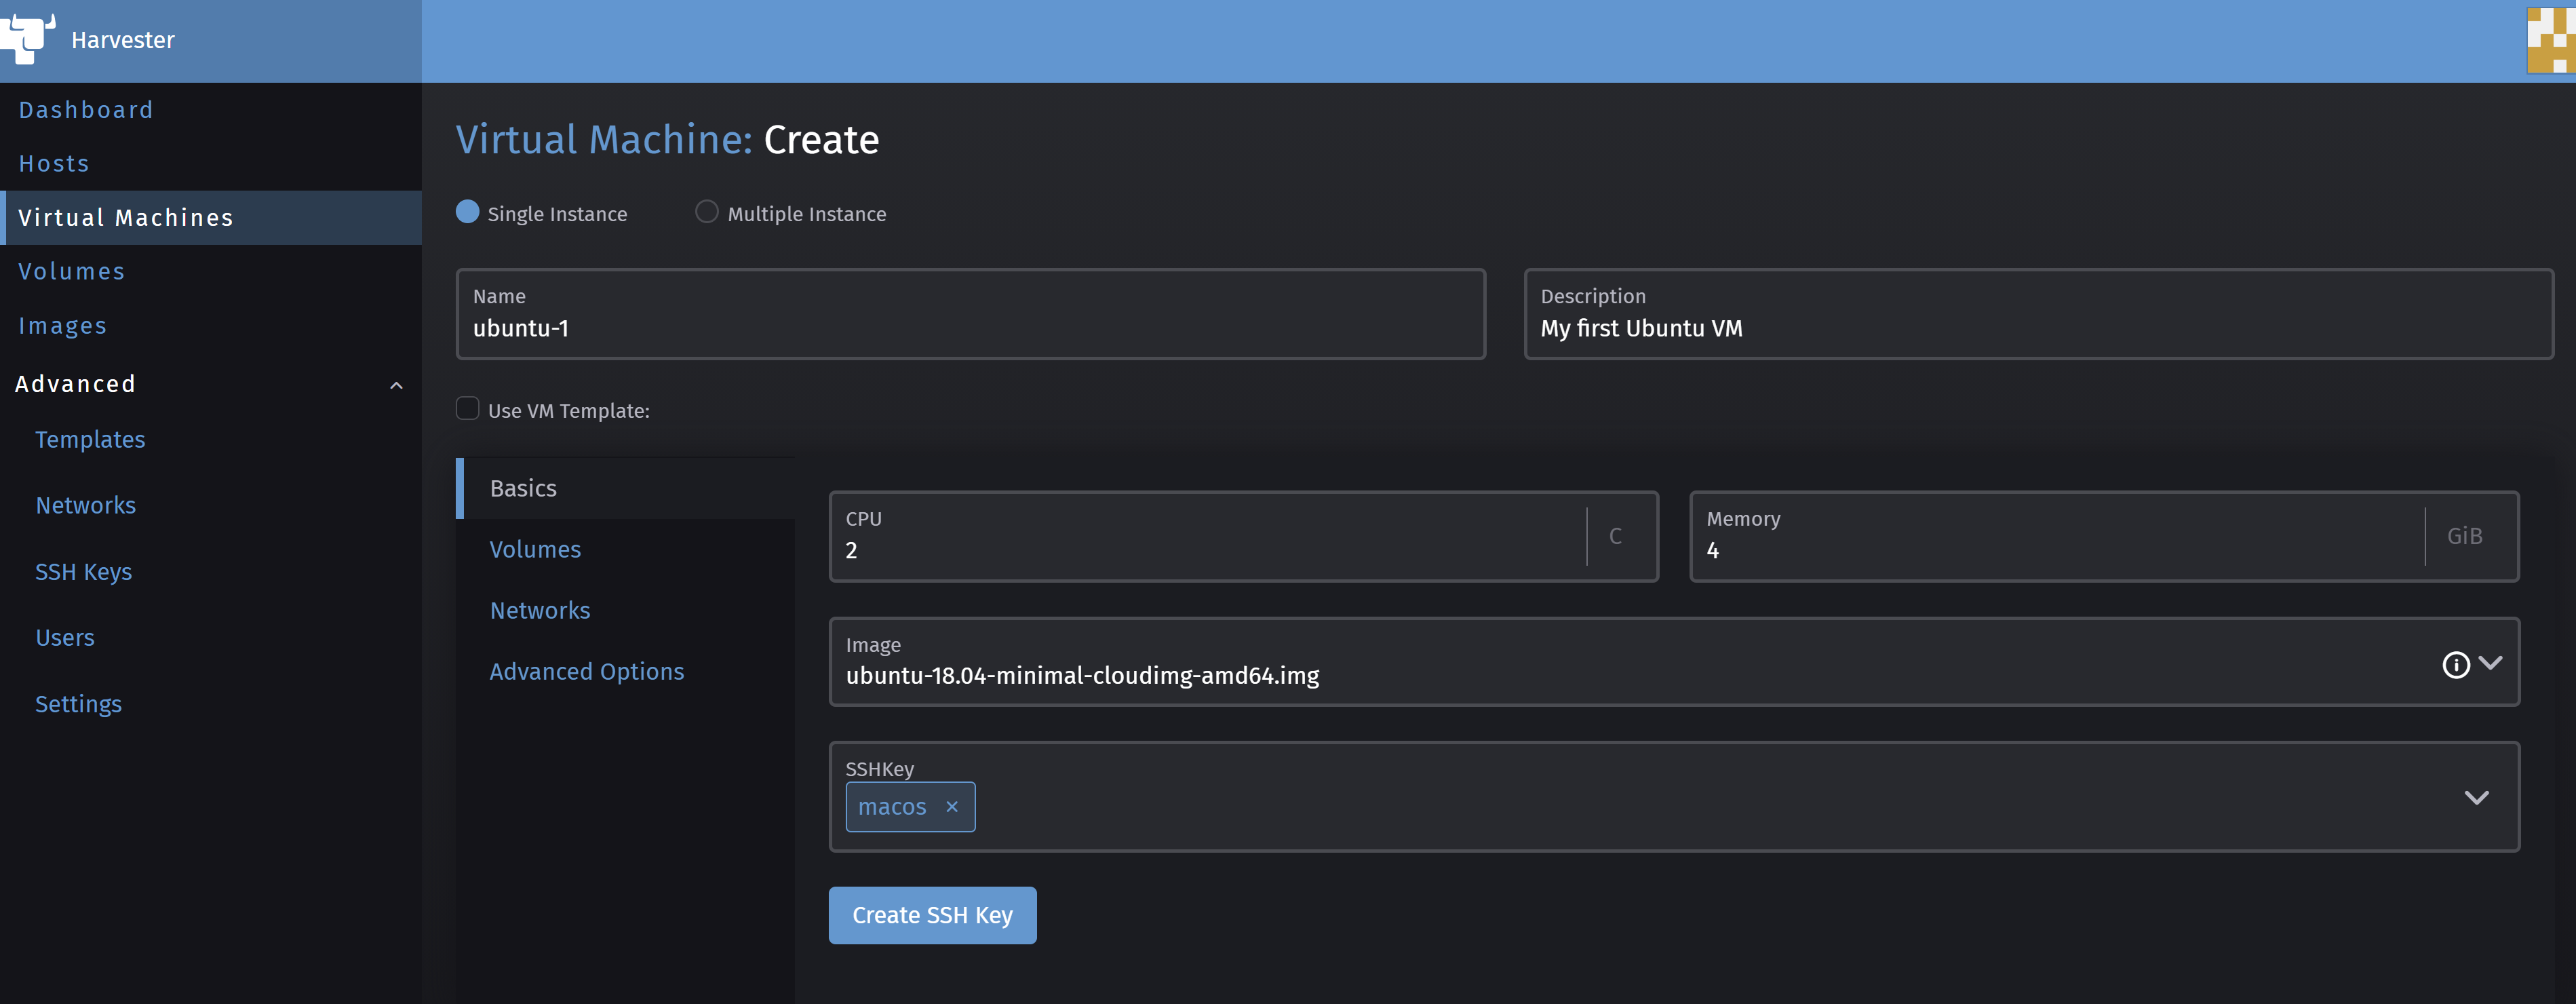
Then, click on Create to open the VM creation wizard. In the Name field give a VM name, you can add a description in the Description field. Add the required CPU number in the CPU field and required memory size in GiB in the Memory field, and choose the OS Image in the Image field as well as the SSH Key in the SSHKey field.
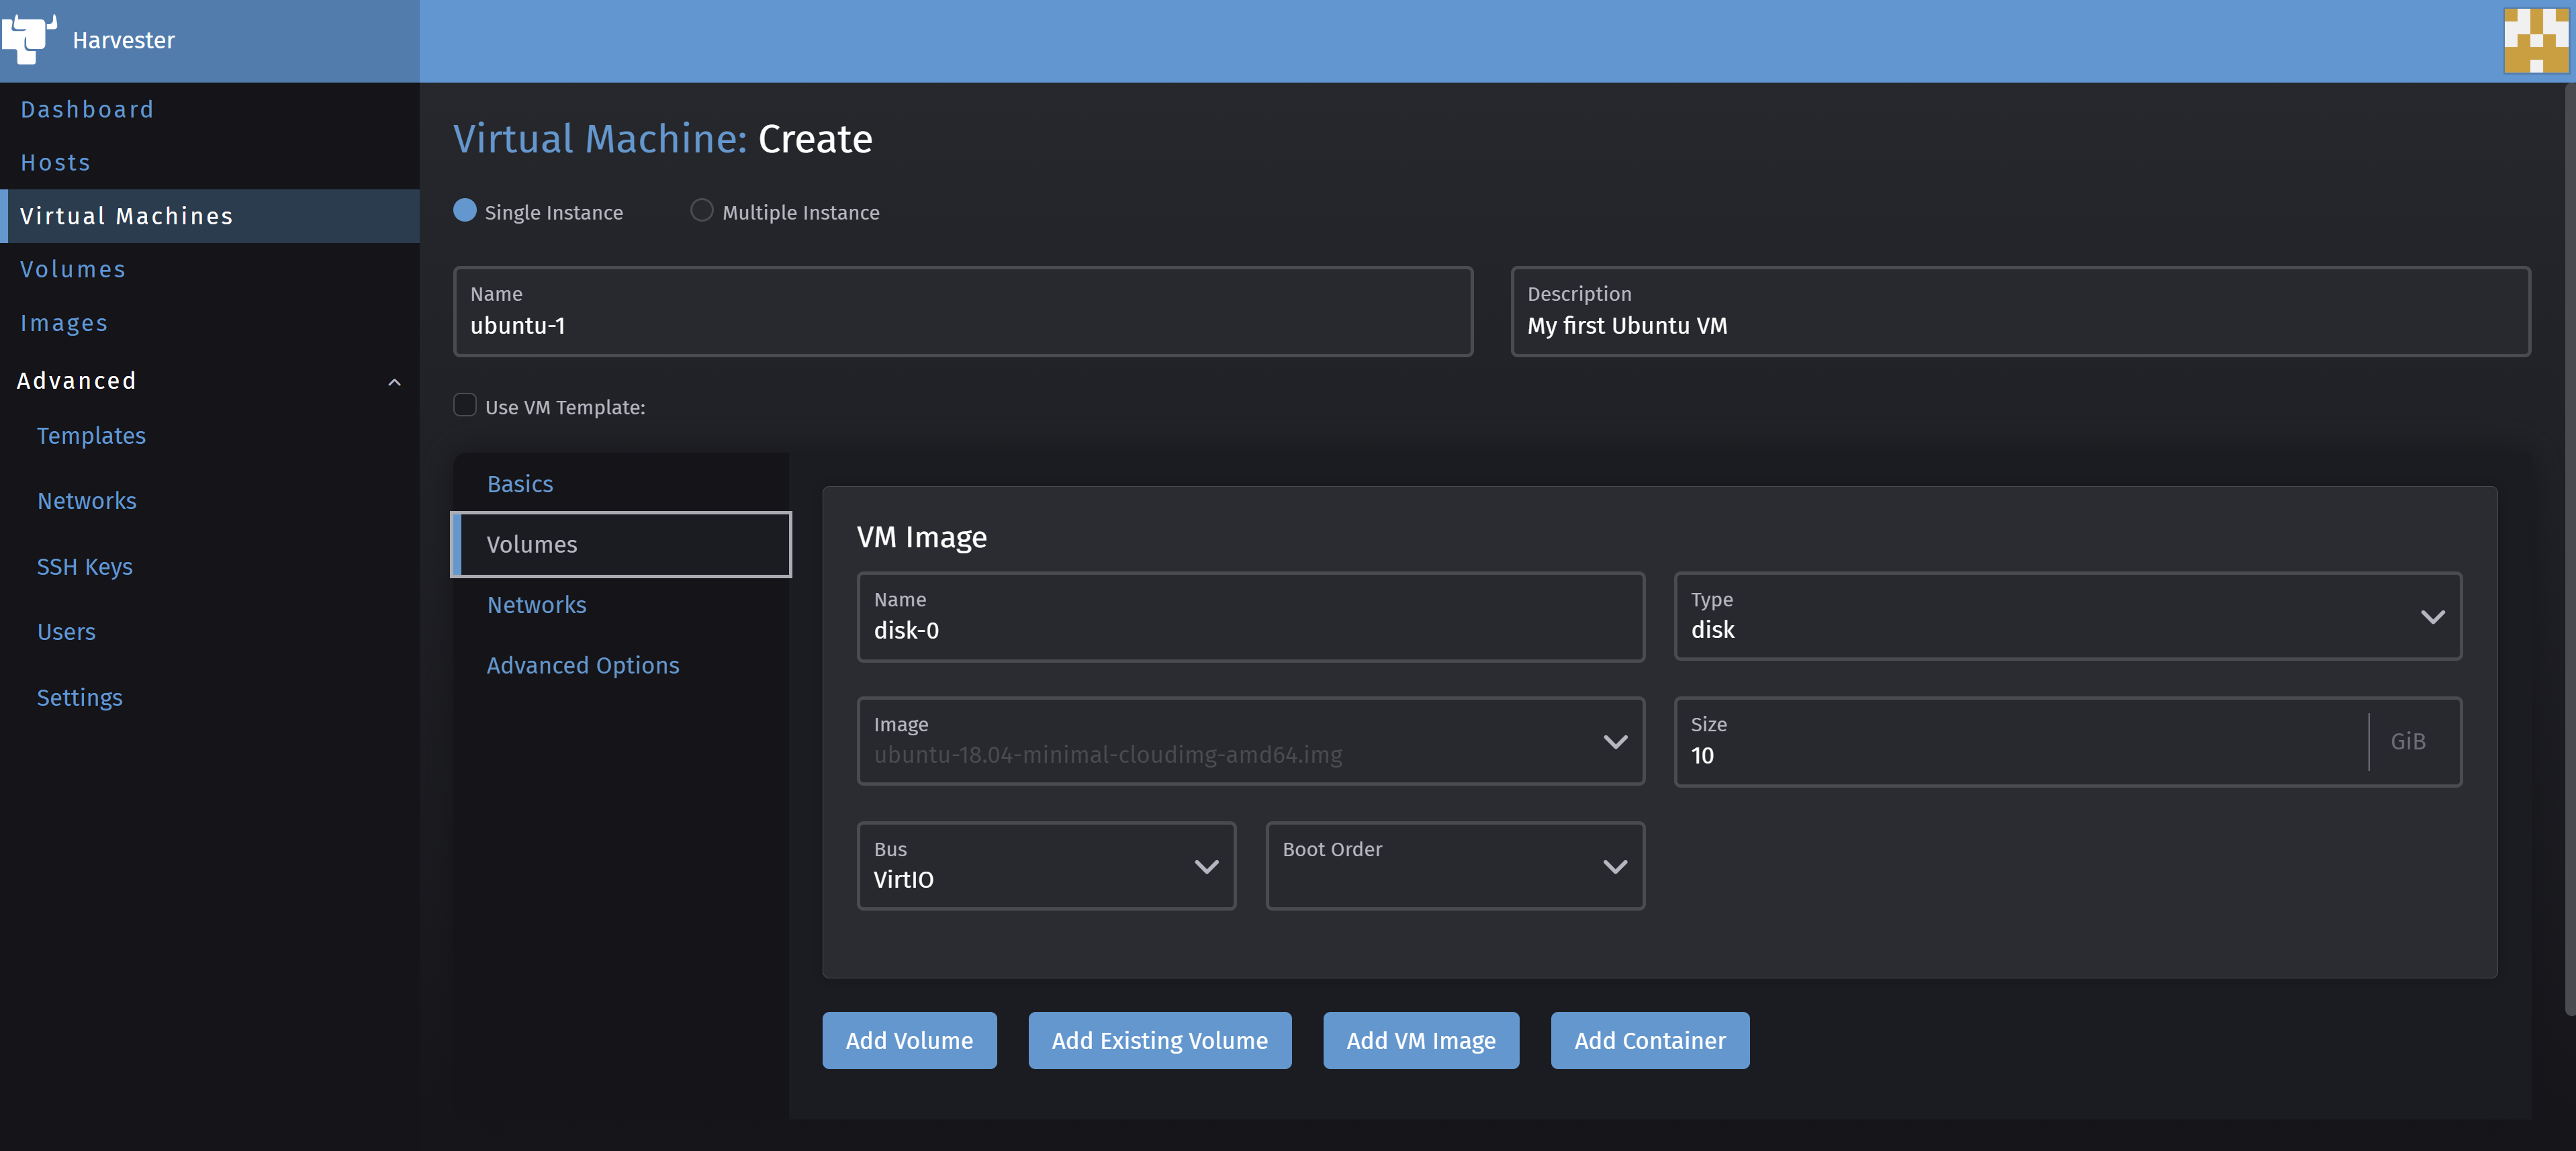
In this wizard’s Volumes sub-menu you can choose to add an additional Disk volume to your VM.
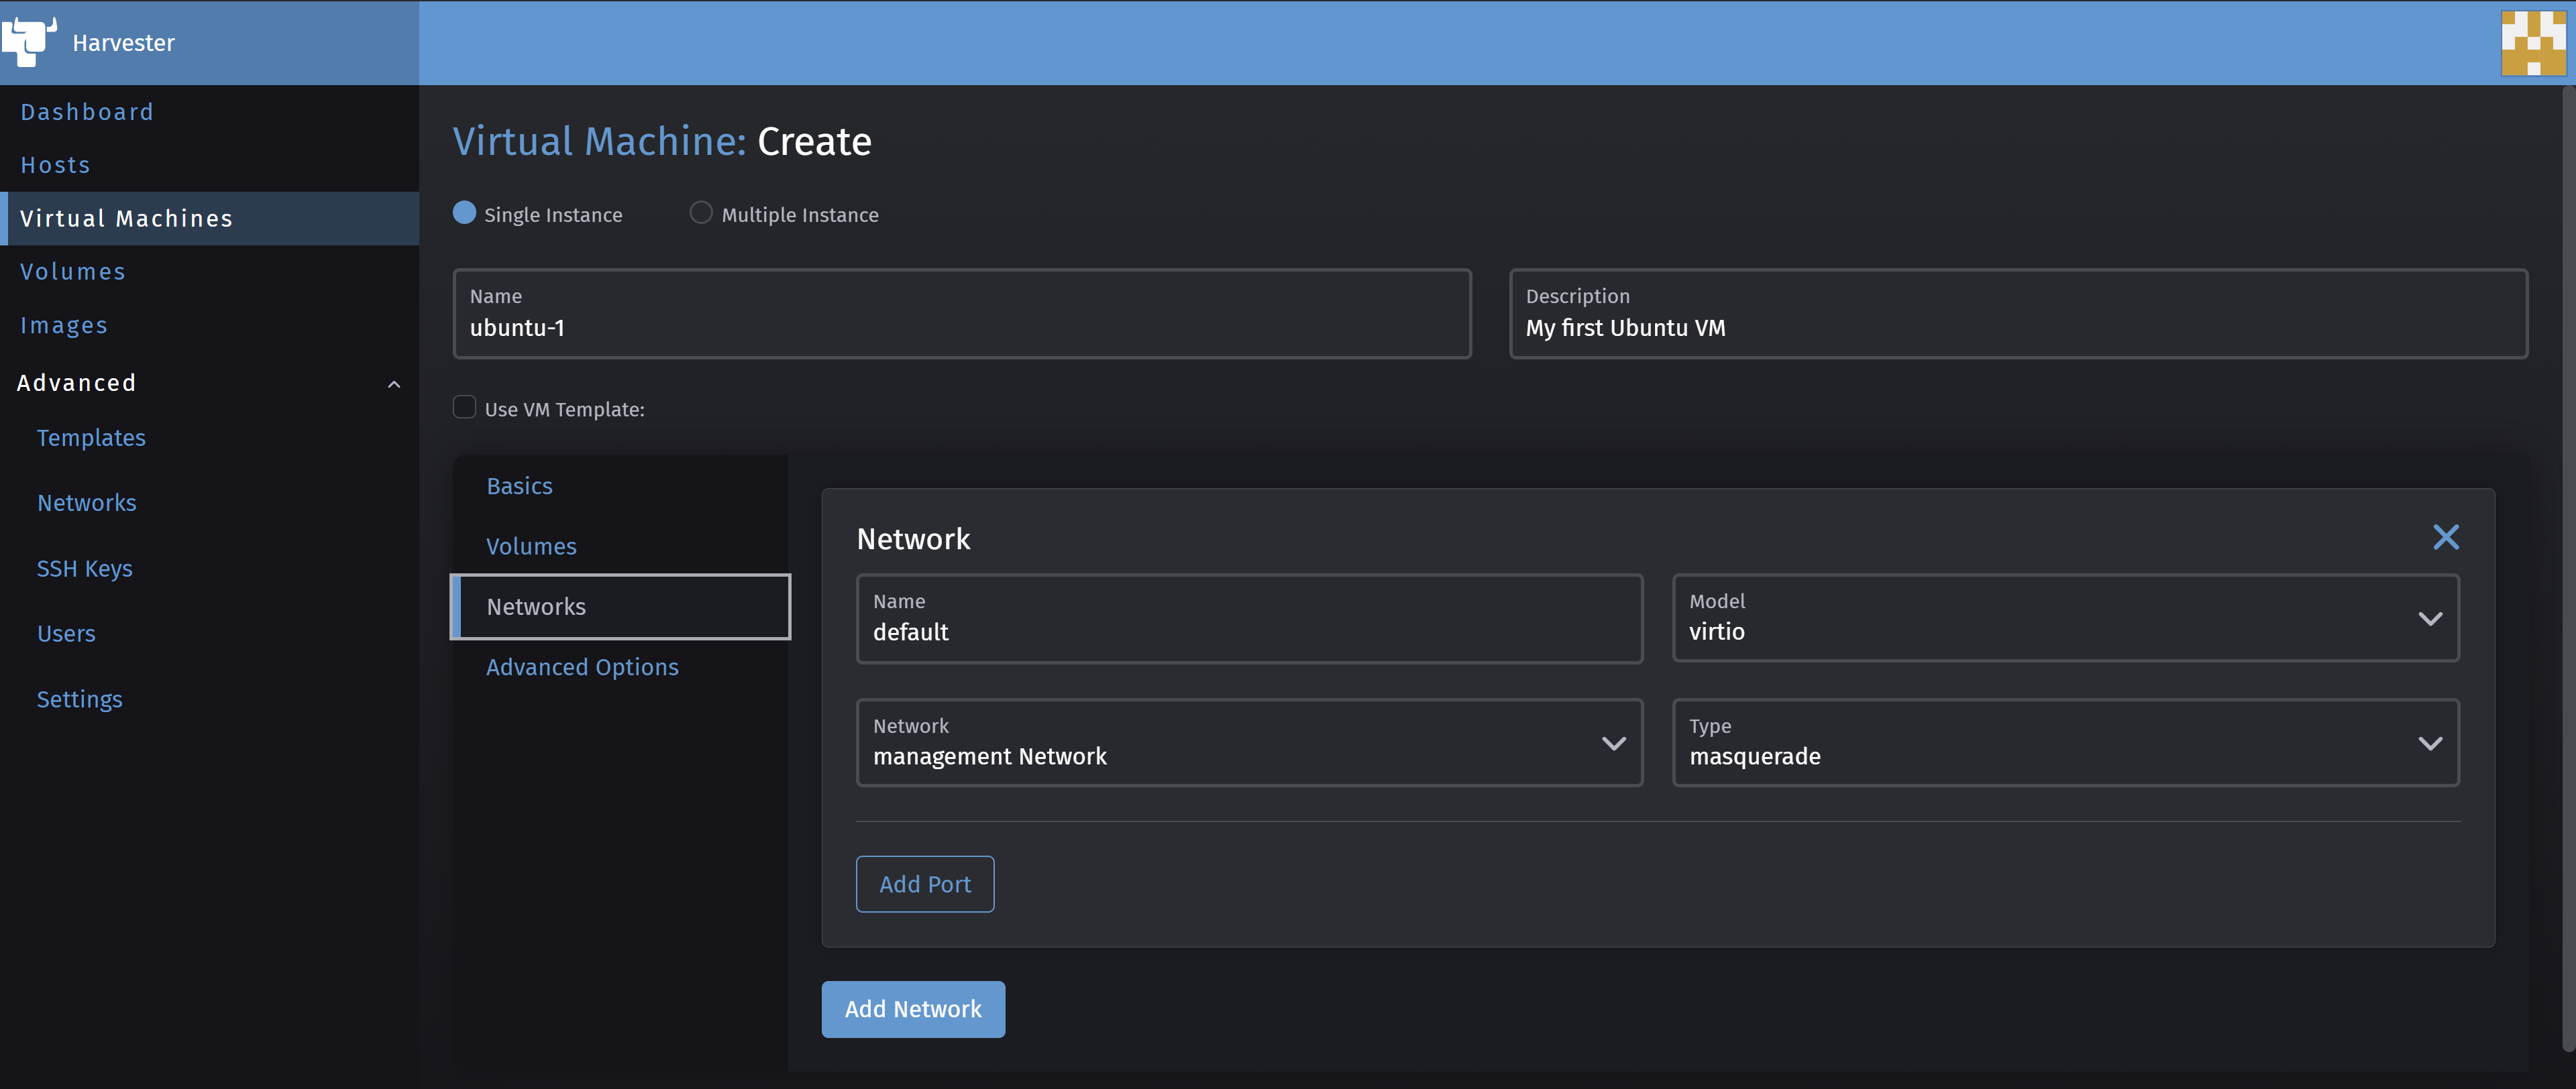
In the Networks sub-menu, you can override the network settings, for example to setup a bridge network, we will NOT do this here.
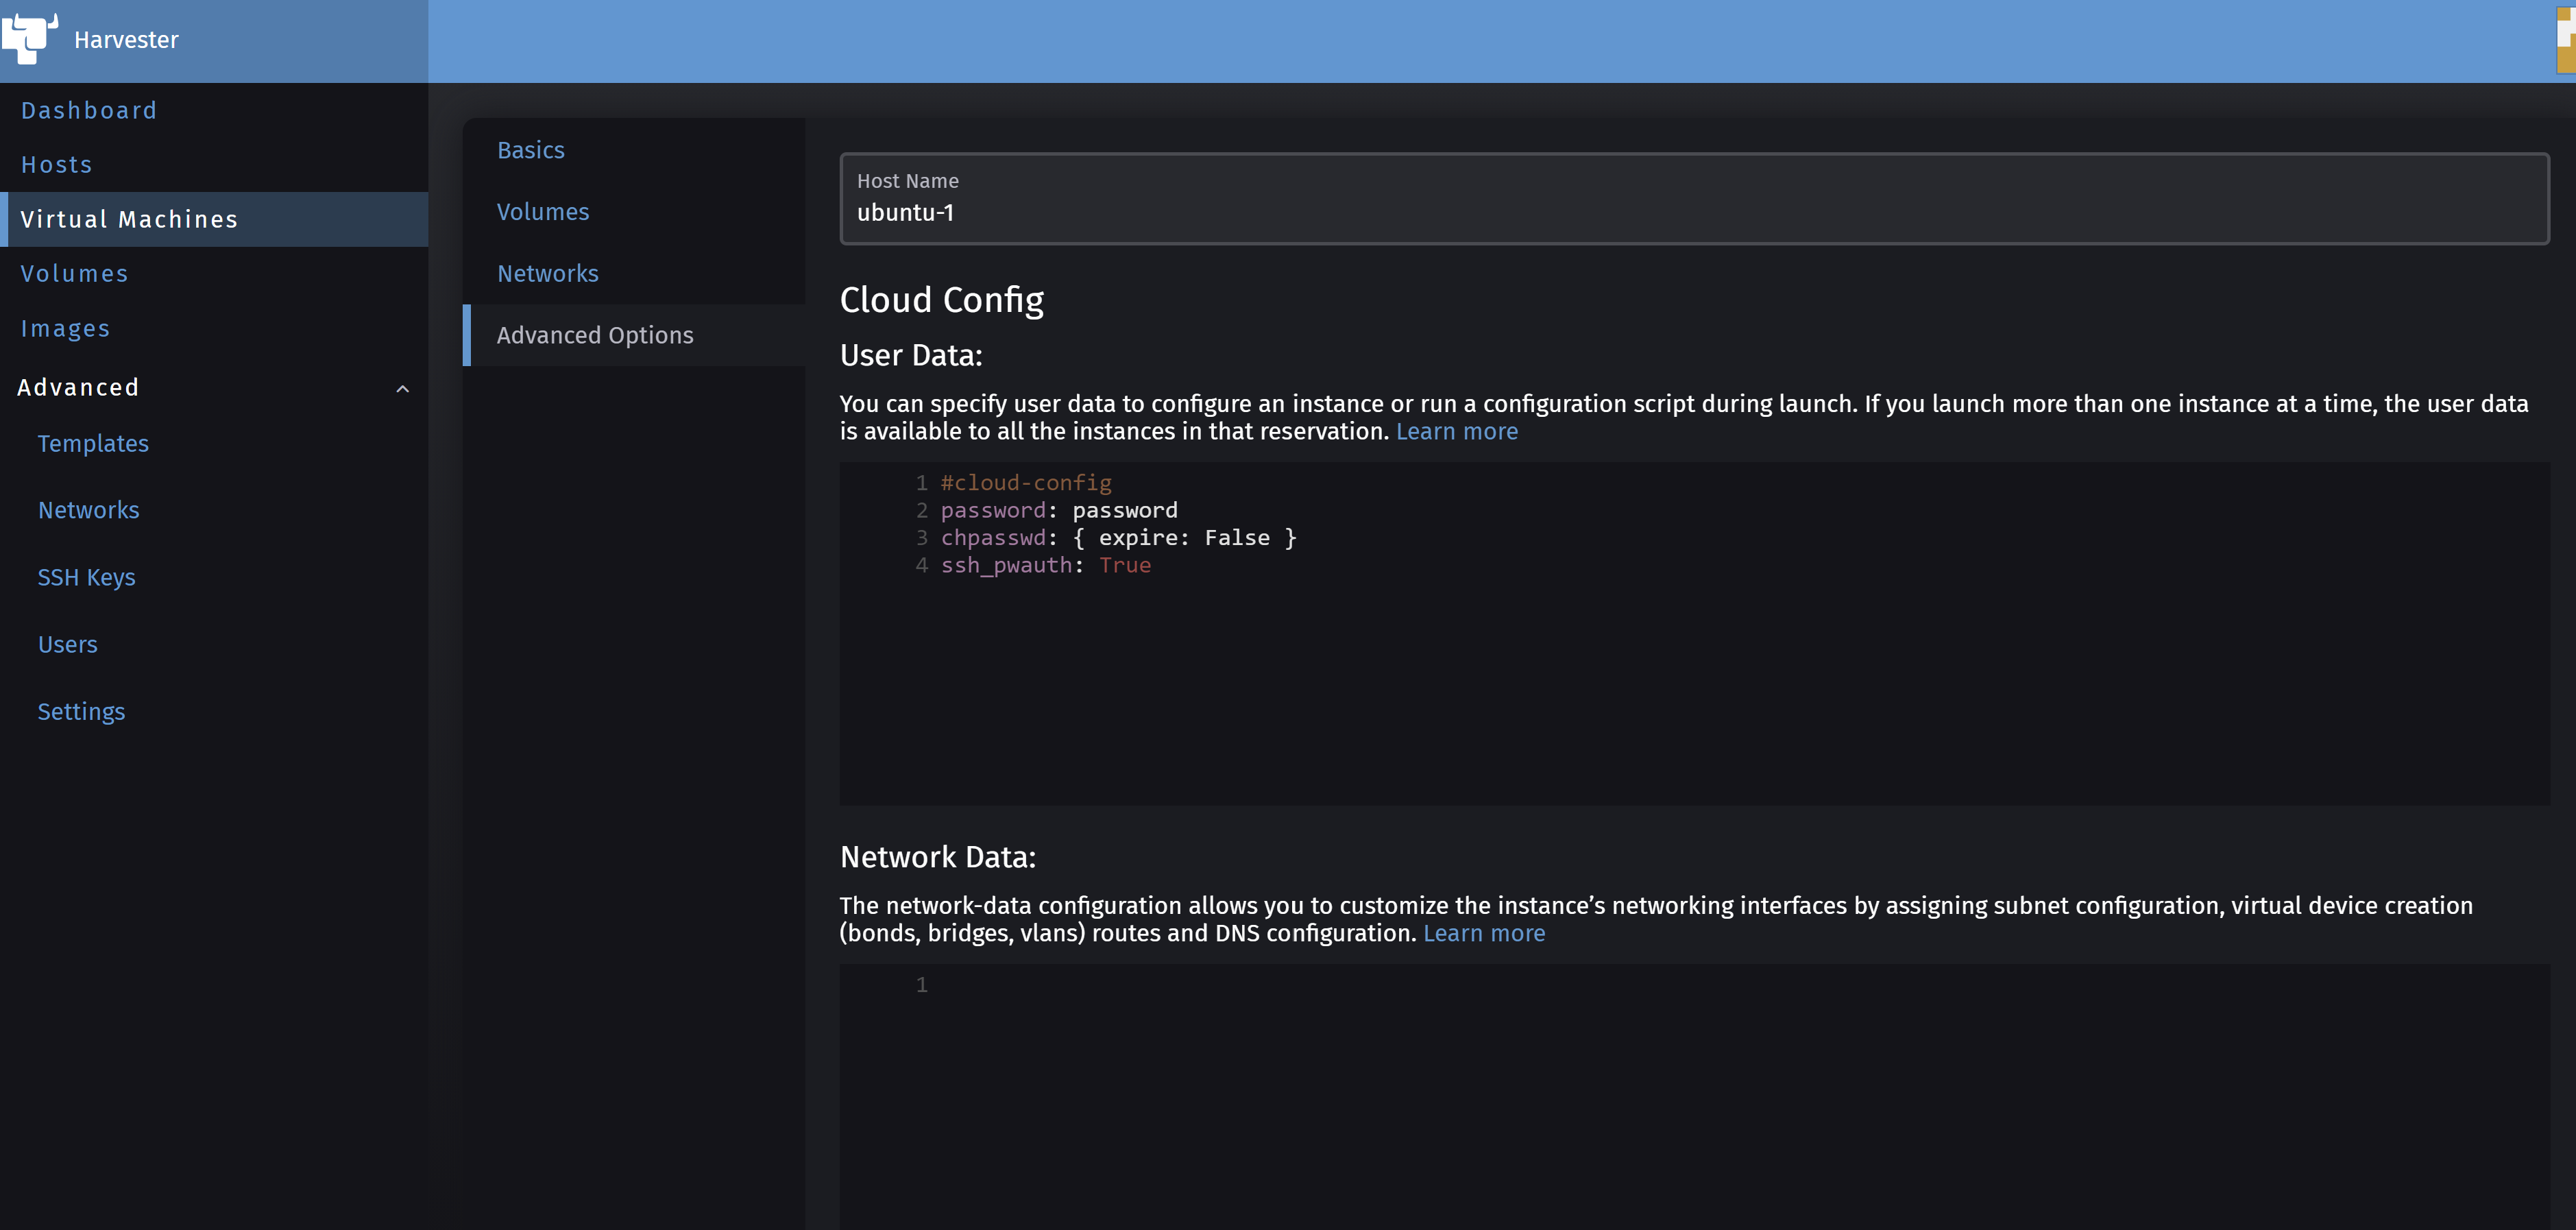
You also add some cloud-init configuration if you wish under the Advanced Options sub-menu.
After clicking on Create and waiting for a couple of minutes, you should see the following screen.
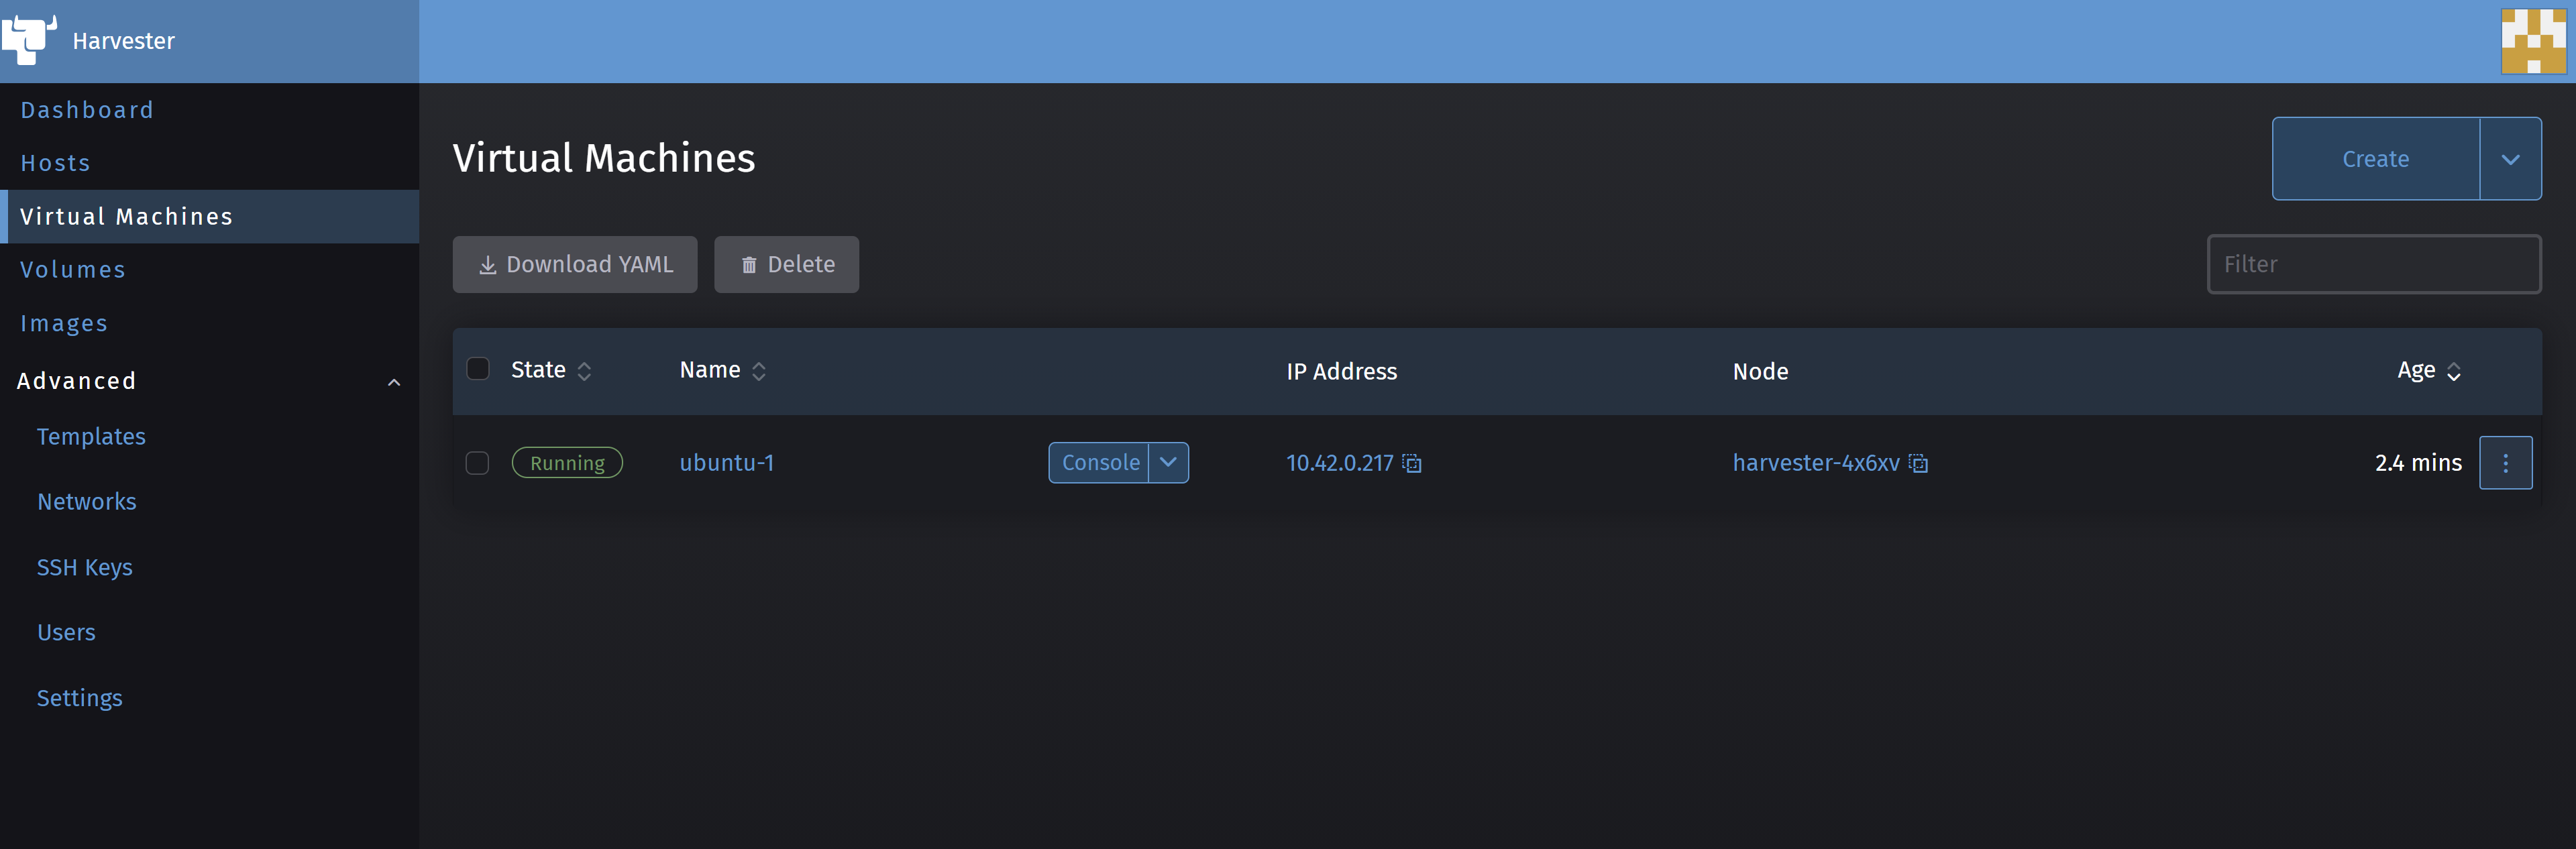
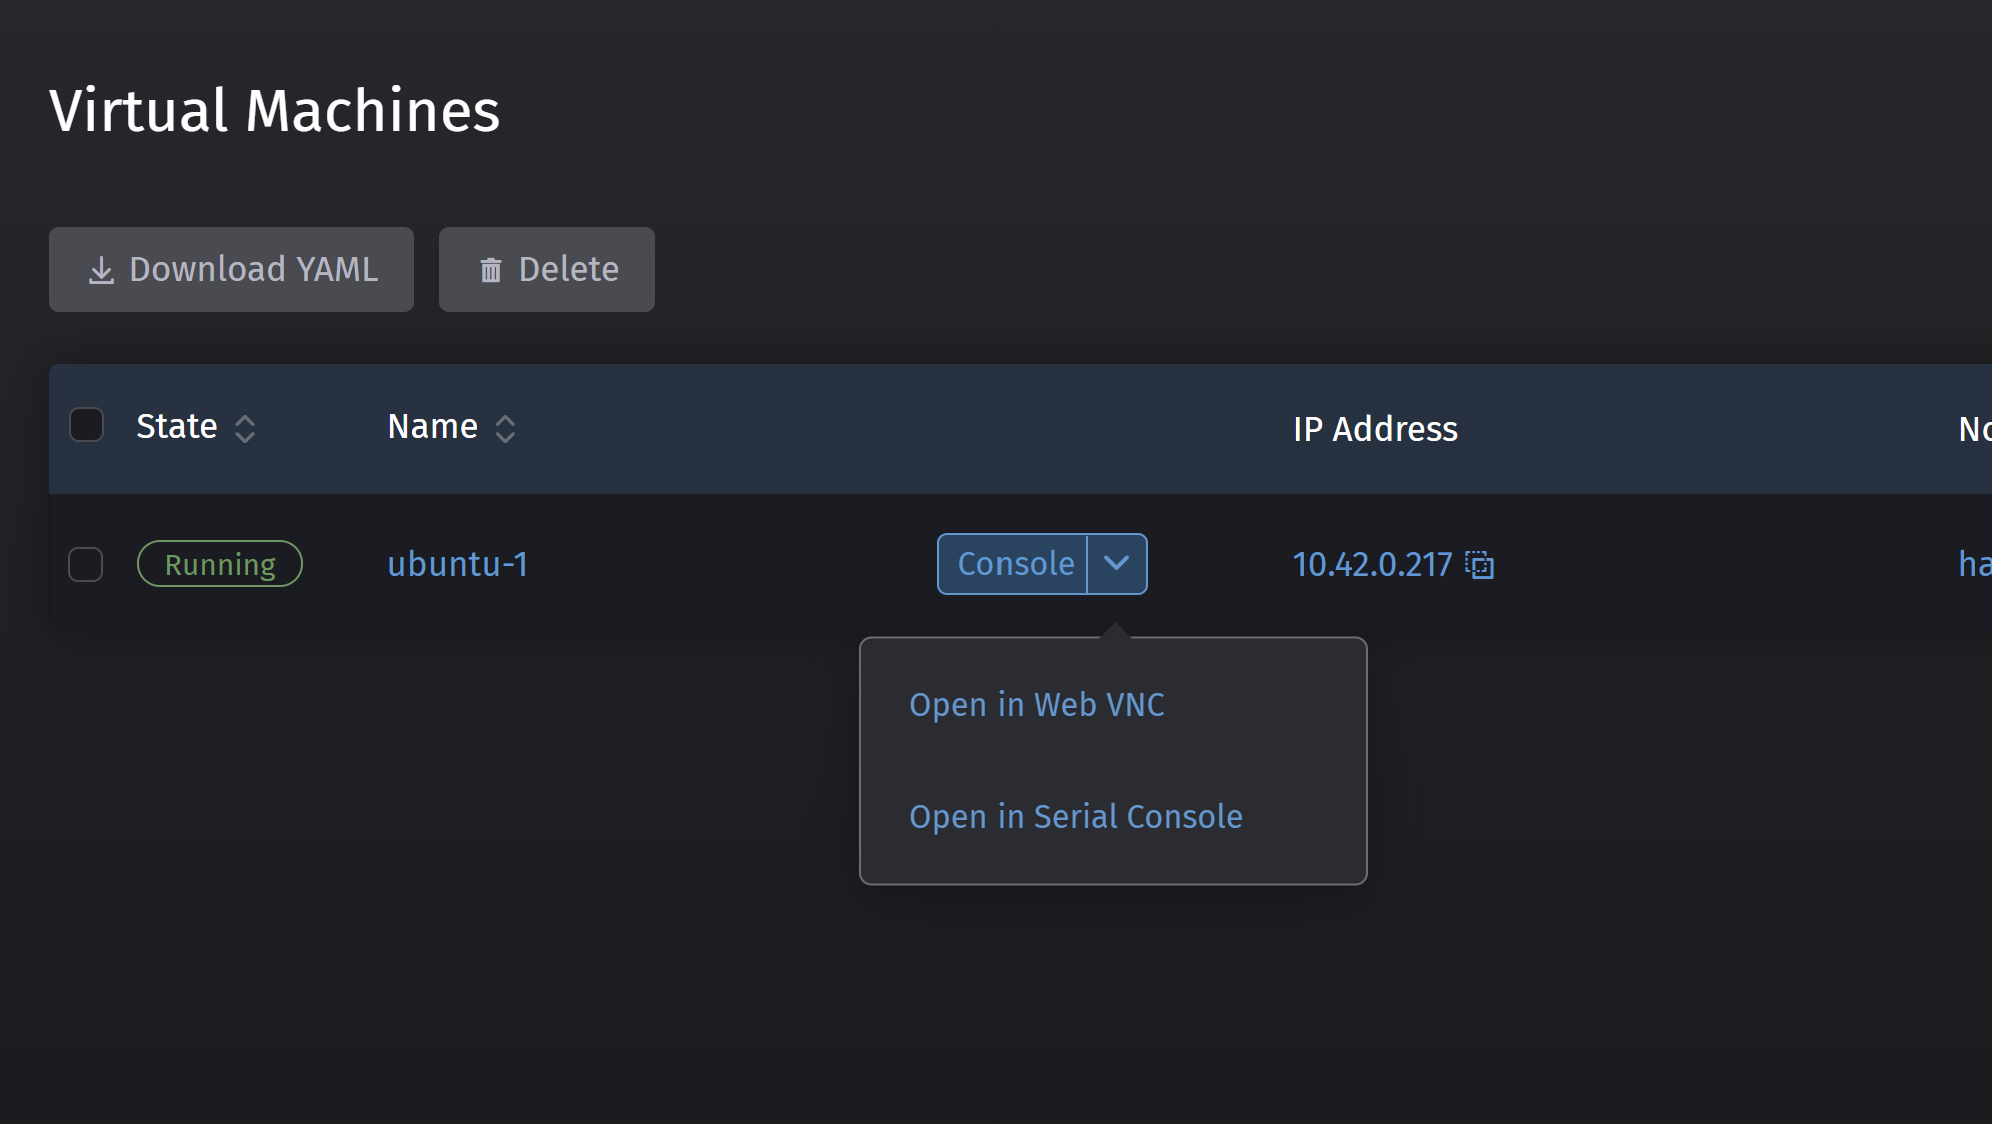
Harvester shows the VM as being in the Running state in green, and offers the possibility to connect to use using a serial console by clicking on the arrow near the Console button and then on Open in Serial Console.
Now, a command prompt should opne with a login prompt, this a serial access to the VM, this does not work with your private key, so you need to have set a password in cloud-init or your Cloud image.
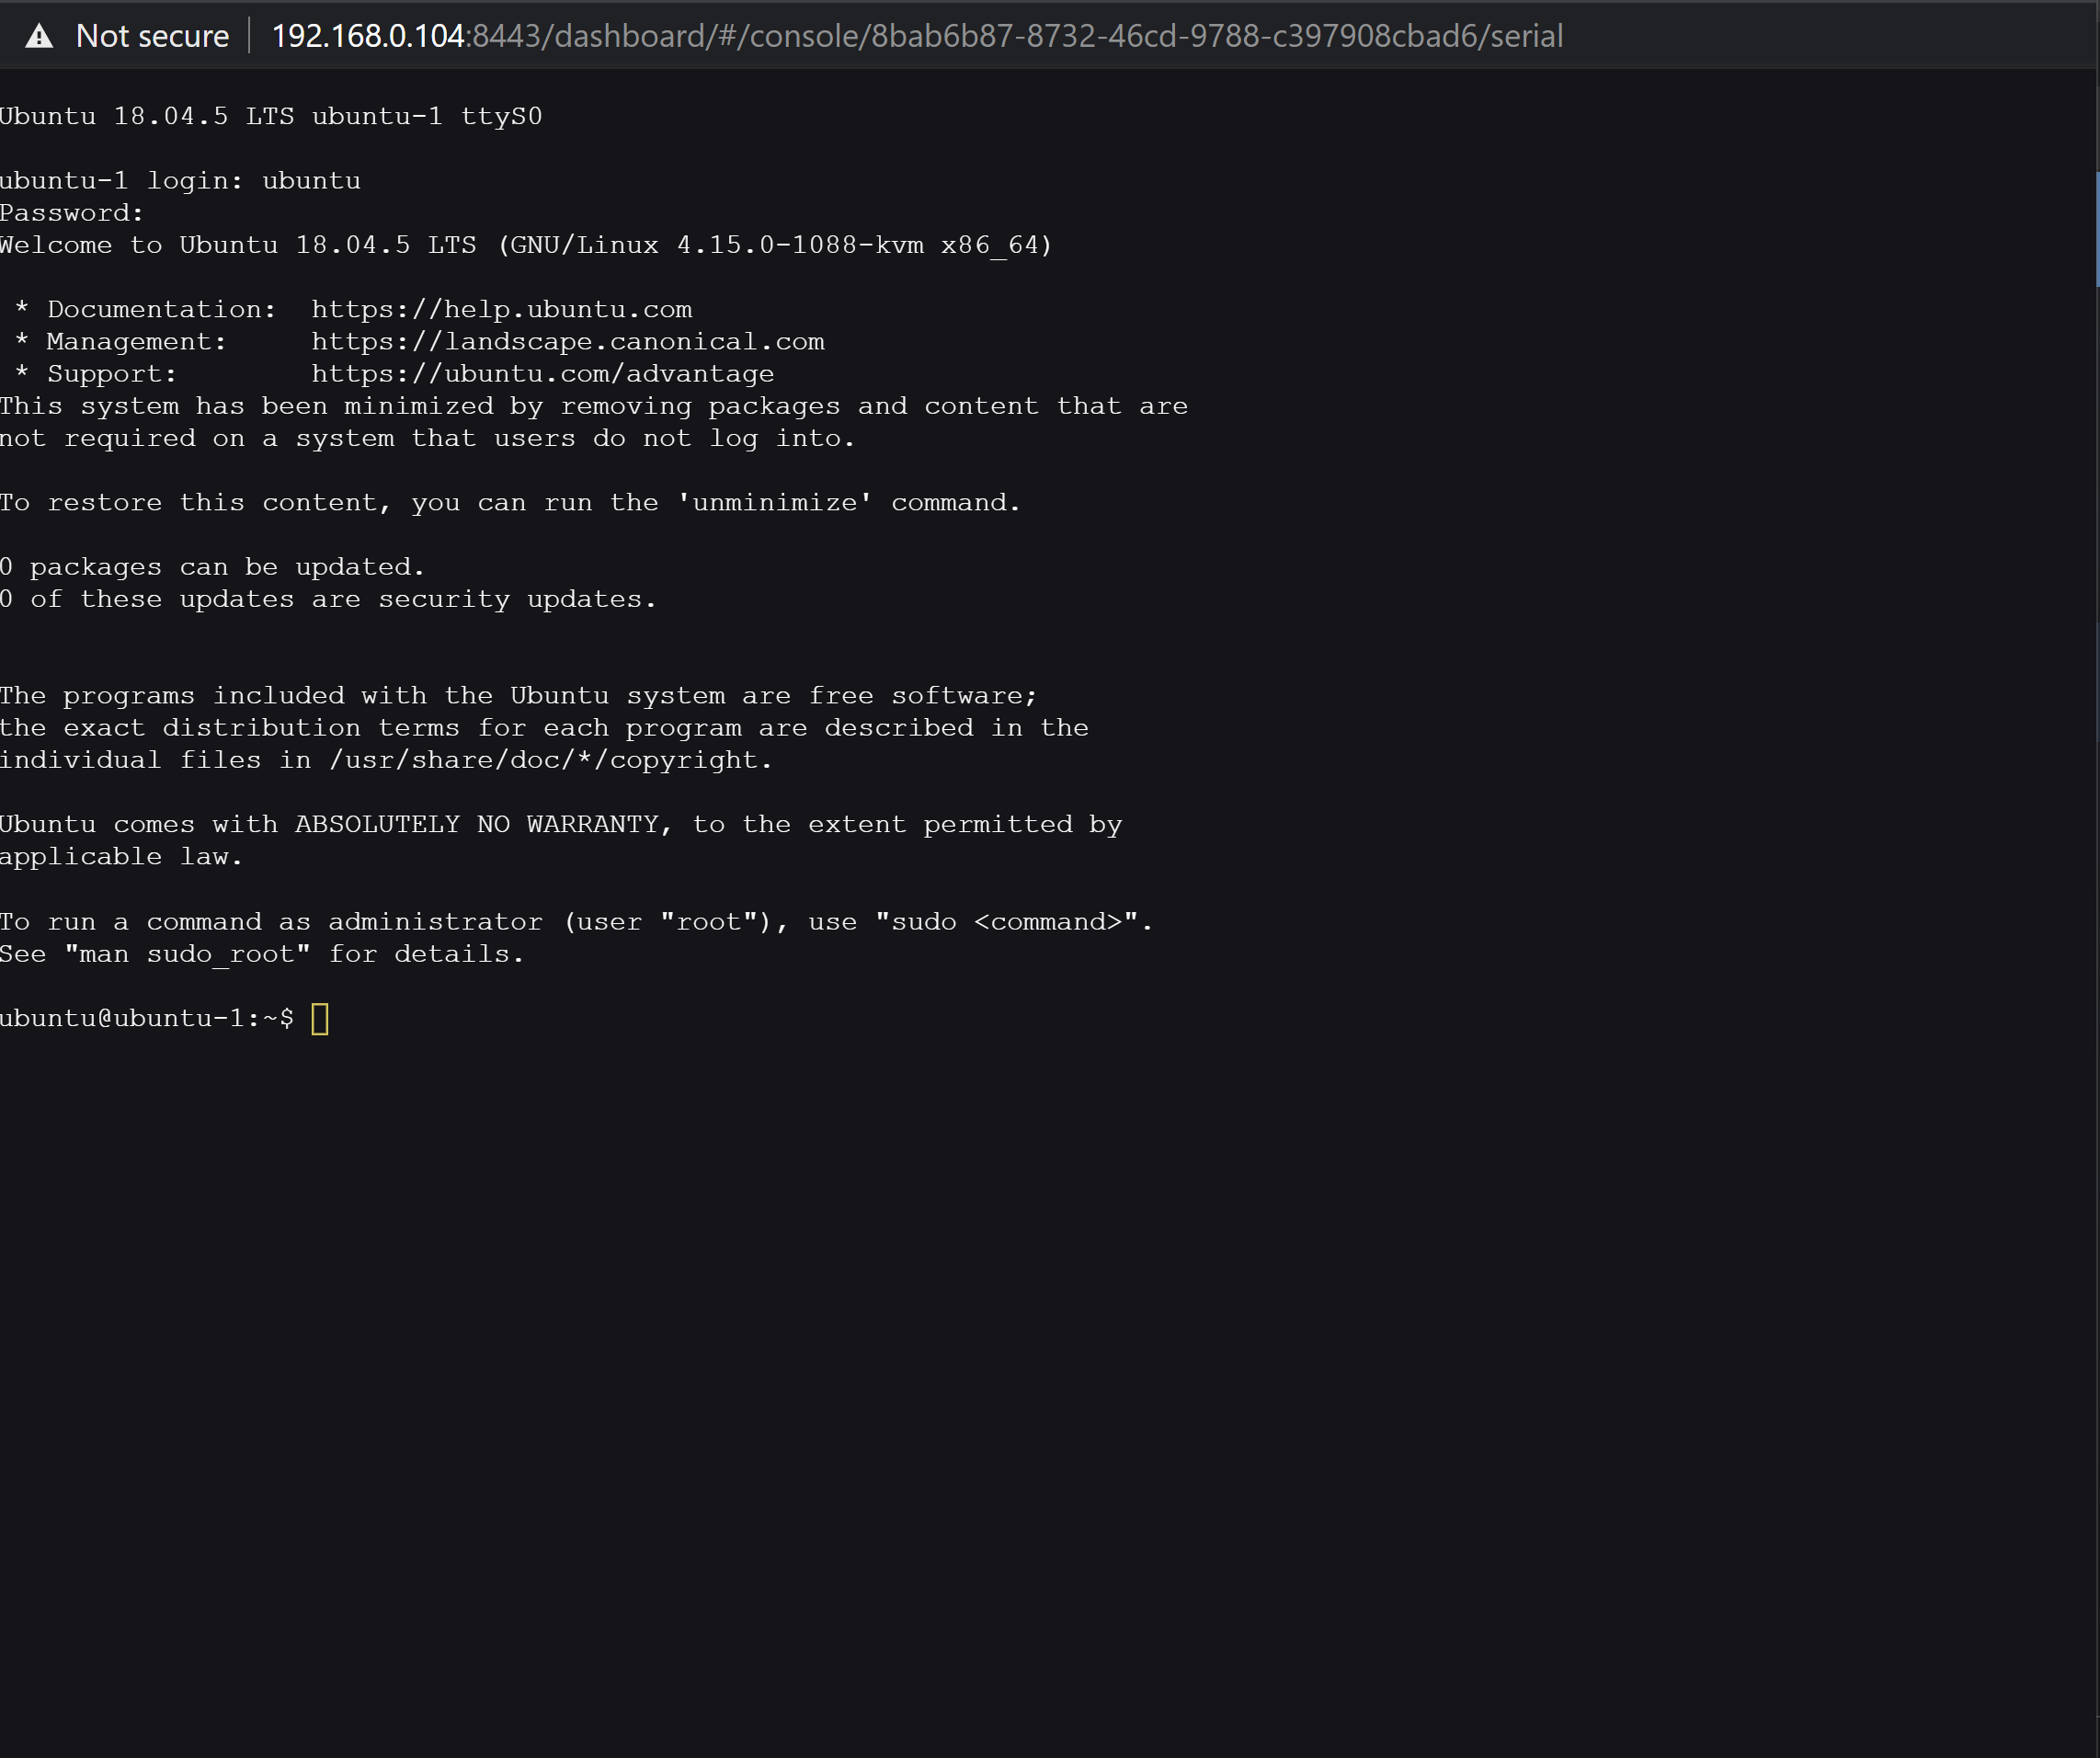
Congratulations! You now have created a VM in your new Harvester Installation, and you were able to access the VM from the browser.
Conclusion
Though this article seems long because of the screenshots, you see that the installation of Harvester is pretty straightforward and that the creation of a new VM is possible after a couple of minutes. You also see that there is no need to have any understanding of Kubernetes or how Kubernetes works to install and use Harvester. This first article only scratches the surface of what is possible to do using Harvester. I will try to deep dive into more Harvester topics in the futures. If you have any questions, please post them in the comments sections. I will be more than happy to answer them.